
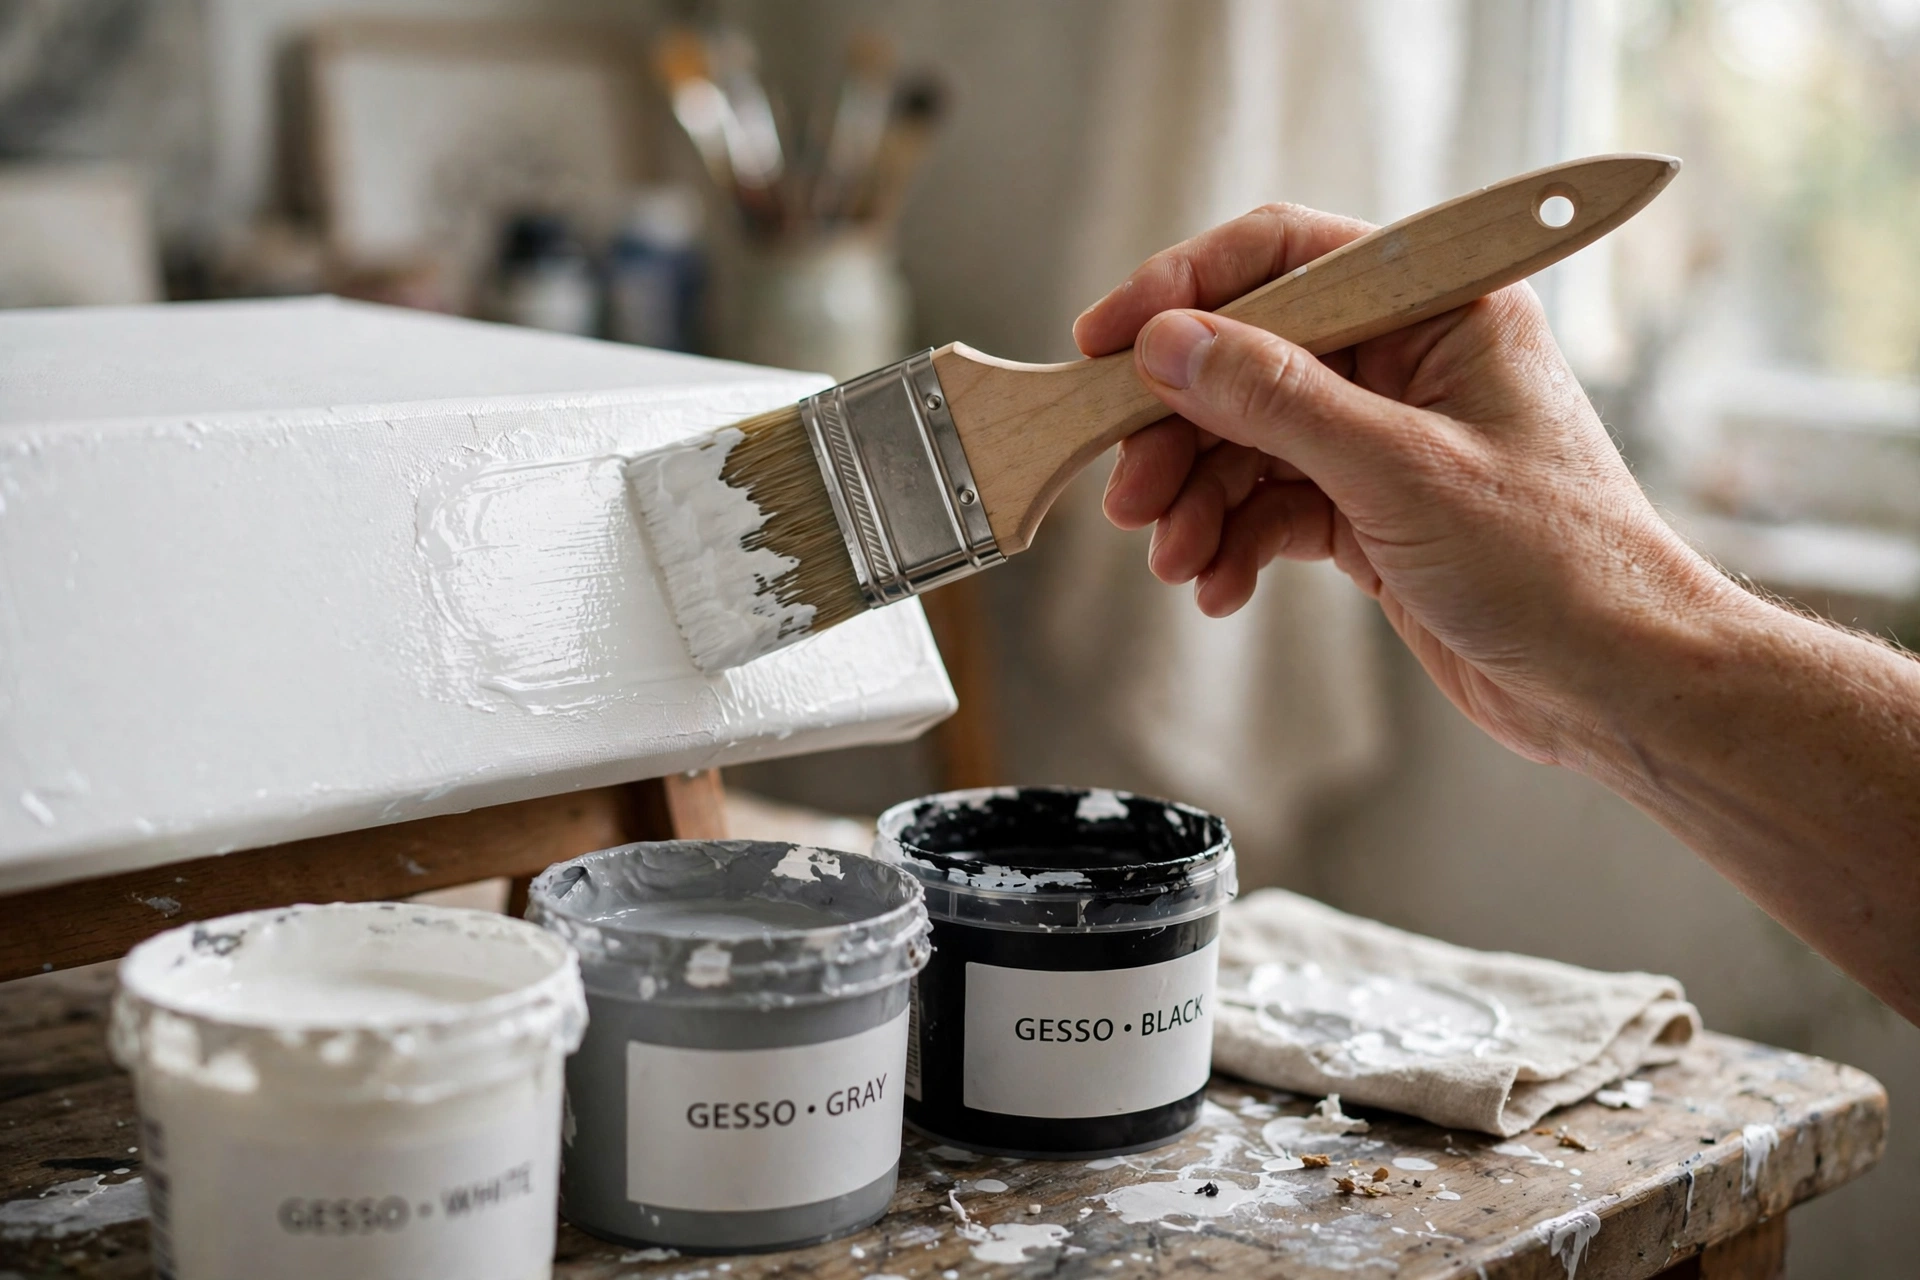

Walk into any art store and you’ll find a tub that every acrylic painter seems to own but nobody fully explains: gesso. Beginners usually do one of two things — skip it entirely, or glob it onto a canvas like house paint and wonder why their painting looks worse. Both miss the point. Gesso is not paint. It’s a primer, and understanding what it does (and doesn’t do) will quietly improve every painting you make.
What Is Gesso, Exactly?
Modern acrylic gesso is a primer made from calcium carbonate — essentially finely ground chalk or marble dust — suspended in the same acrylic polymer binder used in acrylic paints. That combination does two things raw surfaces can’t do on their own: it seals the surface so paint sits on top instead of sinking in unevenly, and it leaves a matte, slightly rough “tooth” that gives paint something to grip.
When it dries, gesso looks like matte white paint, but it behaves differently. Paint glides over it instead of dragging, colors stay truer because they’re not sinking into raw fibers, and the paint film bonds properly so it won’t peel later. Golden, the paint manufacturer, describes gesso as the bridge between your surface and your paint — which is about as good a summary as you’ll find.
A quick history note: the word “gesso” is old, and the original recipe was nothing like the tub in the art store. Traditional gesso was a mix of rabbit-skin glue and gypsum, used on rigid wood panels for centuries. It’s brittle and can’t flex, so it doesn’t belong on canvas. The acrylic version in your tub is a modern reinvention — flexible enough to roll a coated canvas without cracking. Don’t confuse the two; the advice for one doesn’t apply to the other.
Is gesso just white paint?
No — and this is the mistake that causes the most frustration. Titanium white paint dries into a smooth, slightly slick film. Gesso dries matte and porous, with tooth. That’s a deliberate difference. Because it’s absorbent, gesso makes a good underpainting surface and lets subsequent layers bond. If you use white paint where primer is needed, the surface can be too slick for paint to grab, and your layers may lift. Use gesso to prepare, white paint to paint.
The 4 Types of Gesso (and Which One You Actually Need)
White gesso
The default, and the only type most beginners need. It’s an opaque white primer for any absorbent surface where acrylic paint (or oil, tempera, or casein) will go — canvas, wood panels, paper, and board. Applied undiluted or thinned slightly with water, it dries in minutes to a bright white, giving you a clean, neutral starting point. If you’re buying your first tub, buy this one.
Clear gesso
Clear gesso primes without covering. The surface stays visible underneath, which makes it the right choice when you want to preserve something — a wood grain, a pencil sketch, a patterned paper — while still giving it tooth. Liquitex positions it as the ground for pastel, oil pastel, graphite, and charcoal as well, since dry media need a grippy surface that white gesso can’t provide without hiding what’s beneath. It’s also used in mixed media to seal an underpainting before layering over it.
Black gesso
Exactly what it sounds like: opaque black primer. Its purpose is a dark ground — painting over black gives colors a built-in depth and makes highlights pop, and it’s the natural starting point for night scenes, dramatic portraits, or any painting where you want the shadows to come free. It typically covers in one coat and can be diluted with up to 25% water like the other types.
Gray (neutral) gesso
A mid-tone gray primer, and the connoisseur’s shortcut to a toned ground. Painting on a neutral gray instead of stark white makes it far easier to judge values — your lights and darks read accurately from the first stroke, because you’re starting from the middle of the value scale instead of the top. Like black gesso, it usually covers in one coat and can be tinted further with acrylic color.
Do You Actually Need Gesso?
When you need it
Any unprimed surface needs gesso before paint touches it: raw canvas (the stiff, beige stuff sold by the yard), wood panels, MDF, hardboard, heavy paper, and cardboard. Without it, acrylic paint soaks into raw fibers unevenly, colors dull out, and the paint film may not adhere properly over time. If you’re painting with oils on a store-bought canvas, adding one or two extra coats of gesso is cheap insurance — Golden’s own testing shows at least three coats are needed to fully block oil from striking through to the canvas, and you can’t verify how many coats the manufacturer applied.
When you don’t
The canvas boards and stretched canvases sold in most art stores come pre-primed — usually with two or more coats already applied. These are ready to paint on straight out of the wrapper. Adding gesso to a pre-primed canvas is optional, not required. Some painters do it anyway to get a smoother surface or to change the absorbency, and there’s nothing wrong with that, but don’t feel it’s mandatory. A beginner with a fresh store canvas should just start painting.
How to Apply Gesso: Step by Step
Step 1: Prep the surface
For raw wood or hardboard, lightly sand first to knock down roughness and remove any slick factory finish, then wipe away the dust with a damp cloth. Canvas doesn’t need sanding. Make sure the surface is clean and dry — gesso won’t bond properly over grease or loose dirt.
Step 2: Stir, then thin if needed
Stir the gesso thoroughly with a stick or old brush; don’t shake the tub, which whips in air bubbles that dry into pinholes. Most gesso is usable straight from the tub. If you want a smoother, self-leveling application, thin it with a little water — Golden and Liquitex both cap dilution at 25% water. Beyond that, you risk weakening the film. Stir until it’s the consistency of heavy cream.
Step 3: Apply the first coat in thin, even layers
Use a wide, flat brush — a cheap hardware-store brush is honestly ideal for this — and spread the gesso in thin, even coats. Thin is the operative word: thick coats crack, trap bubbles, and take forever to dry. One coat gives decent adhesion, but Golden recommends at least two coats on any surface, especially canvas or linen, because the first coat penetrates the support while the second evens out the surface. Apply brush strokes in one direction, then switch to a perpendicular direction for the next coat so coverage is complete.
Step 4: Let it dry — properly
Gesso dries to the touch in roughly 30 to 60 minutes in normal room conditions, but “touch dry” isn’t “ready to paint.” Liquitex’s official guidance is to leave gesso for at least 24 hours before starting to paint, which lets the film fully cure and harden. For acrylic painting the same day is usually fine in practice, but if you’re priming for oils, give it the full day. Rushing this step is the most common reason a ground fails.
Step 5: Sand between coats (optional, but recommended)
Sanding between coats isn’t strictly required for adhesion — acrylic bonds to acrylic — but it controls texture buildup. Use fine wet-and-dry sandpaper (around 220–400 grit) with a light touch once each coat is fully dry, then wipe off the dust with a damp cloth. The goal is to knock down brush ridges and drips, not to sand through to the canvas. For portrait or detailed work where a smooth ground matters, this step makes a real difference; for loose, textural painting, skip it freely.
Step 6: Repeat, then let it cure
Apply your second coat (and third, if you’re priming for oils), sanding lightly between them if you want. After the final coat, let the surface cure — overnight at minimum, 24 hours to be safe — before you pick up your paints. Once cured, gesso is a stable, archival ground that’s ready for anything.
Cleaning up
Wash brushes immediately with soap and water — dried gesso ruins brushes faster than dried paint. Dried gesso in a tub can sometimes be revived by stirring, but if it’s gone rubbery or smells off, replace it.
7 Beginner Mistakes With Gesso
Mistake 1: Applying one thick coat instead of several thin ones
Thick gesso cracks as it dries, holds brush marks, and can peel. Two or three thin coats always beat one thick one. If your gesso looks like cake frosting, you’re over-applying.
Mistake 2: Painting before it’s cured
Painting on gesso that’s merely touch-dry can lift the primer right off the surface. Give it the full drying time — ideally 24 hours before serious work, especially with oils.
Mistake 3: Using gesso as a substitute for white paint
Gesso is porous and matte; it will drink subsequent paint layers and can compromise permanence if left as a top layer. It’s primer, not paint. Don’t mix it into your palette as a cheap white.
Mistake 4: Over-thinning with water
More than 25% water weakens the acrylic binder and can cause cracking or poor adhesion. If you need it thinner than that, you’re using the wrong tool — switch to a thinner-bodied gesso or a flow medium instead of drowning it.
Mistake 5: Gessoing over a glossy or contaminated surface
Gesso needs something to grip. Glossy, oily, or waxy surfaces should be sanded and cleaned first. One forum regular’s rule of thumb: if water beads on the surface, gesso will bead on it too.
Mistake 6: Expecting the canvas weave to disappear
Two coats of gesso won’t hide canvas texture — and that’s fine. The weave showing through is normal and doesn’t affect your painting. Hiding the weave entirely takes five or six coats plus sanding, which is a finishing choice, not a requirement.
Mistake 7: Never stirring the tub
Gesso settles in storage. The solids sink and the binder rises, so unmixed gesso applies inconsistently. Stir every time, all the way to the bottom.
Gesso FAQs
Can you paint acrylics directly over gesso?
Yes — that’s its entire purpose. Gesso is the standard ground for acrylic painting, and it’s also suitable under oils, tempera, and casein.
Can you gesso over an old painting to reuse the canvas?
Yes, with a caveat: it works well over old acrylic paintings — apply two to three coats of gesso and the canvas is reusable. Over varnished or oil-painted surfaces, adhesion is unreliable; the slick varnish layer can cause the new gesso to peel. Sand varnished surfaces first, and know that reclaimed canvases are best reserved for practice, not work you plan to sell.
Can you tint gesso with acrylic paint?
Yes. Golden’s official guidance says its gesso can be tinted with acrylic paints (heavy-body colors alter the gesso’s properties least), and Liquitex recommends its soft-body range for custom tints. Tinting gives you a colored ground in one step. Keep the paint proportion modest so the mixture stays a primer, not paint with gesso in it.
Does gesso expire?
It doesn’t have a hard expiry date, but it degrades. If it’s separated, stir it back together. If it’s thickened, thin slightly with water. If it’s rubbery, lumpy, or smells bad, it’s done — replace the tub. Store it sealed at room temperature; freezing can ruin the acrylic emulsion.
Is gesso toxic?
Artist-grade gesso carries the AP (Approved Product) non-toxic seal and is safe for normal studio use. The one caution: don’t breathe the dust when sanding dried gesso — wear a simple dust mask, the same as with any sanding.
Do you need gesso for watercolor paper?
No. Watercolor paper is already sized for its intended use, and gesso would destroy the absorbency watercolor painting depends on. The exception is when you deliberately want to paint watercolor-style effects on a sealed surface — some artists gesso paper for that — but that’s an advanced technique, not a beginner requirement.
The Bottom Line
Gesso is the least glamorous purchase in the art store and one of the most consequential. It’s a primer — chalk and acrylic binder — that seals your surface and gives paint something to hold onto. Buy white for your first tub. Apply it thin, apply it twice, let it cure, and clean your brush before it dries. Everything else — clear, black, gray, sanding between coats, tinting — is refinement you’ll reach for naturally once the basics are habit.
New to acrylics? Start with our guide to the five brushes beginners actually need, pick up 10 easy acrylic painting ideas for your first sessions, and learn how to varnish your finished painting so it lasts.
