
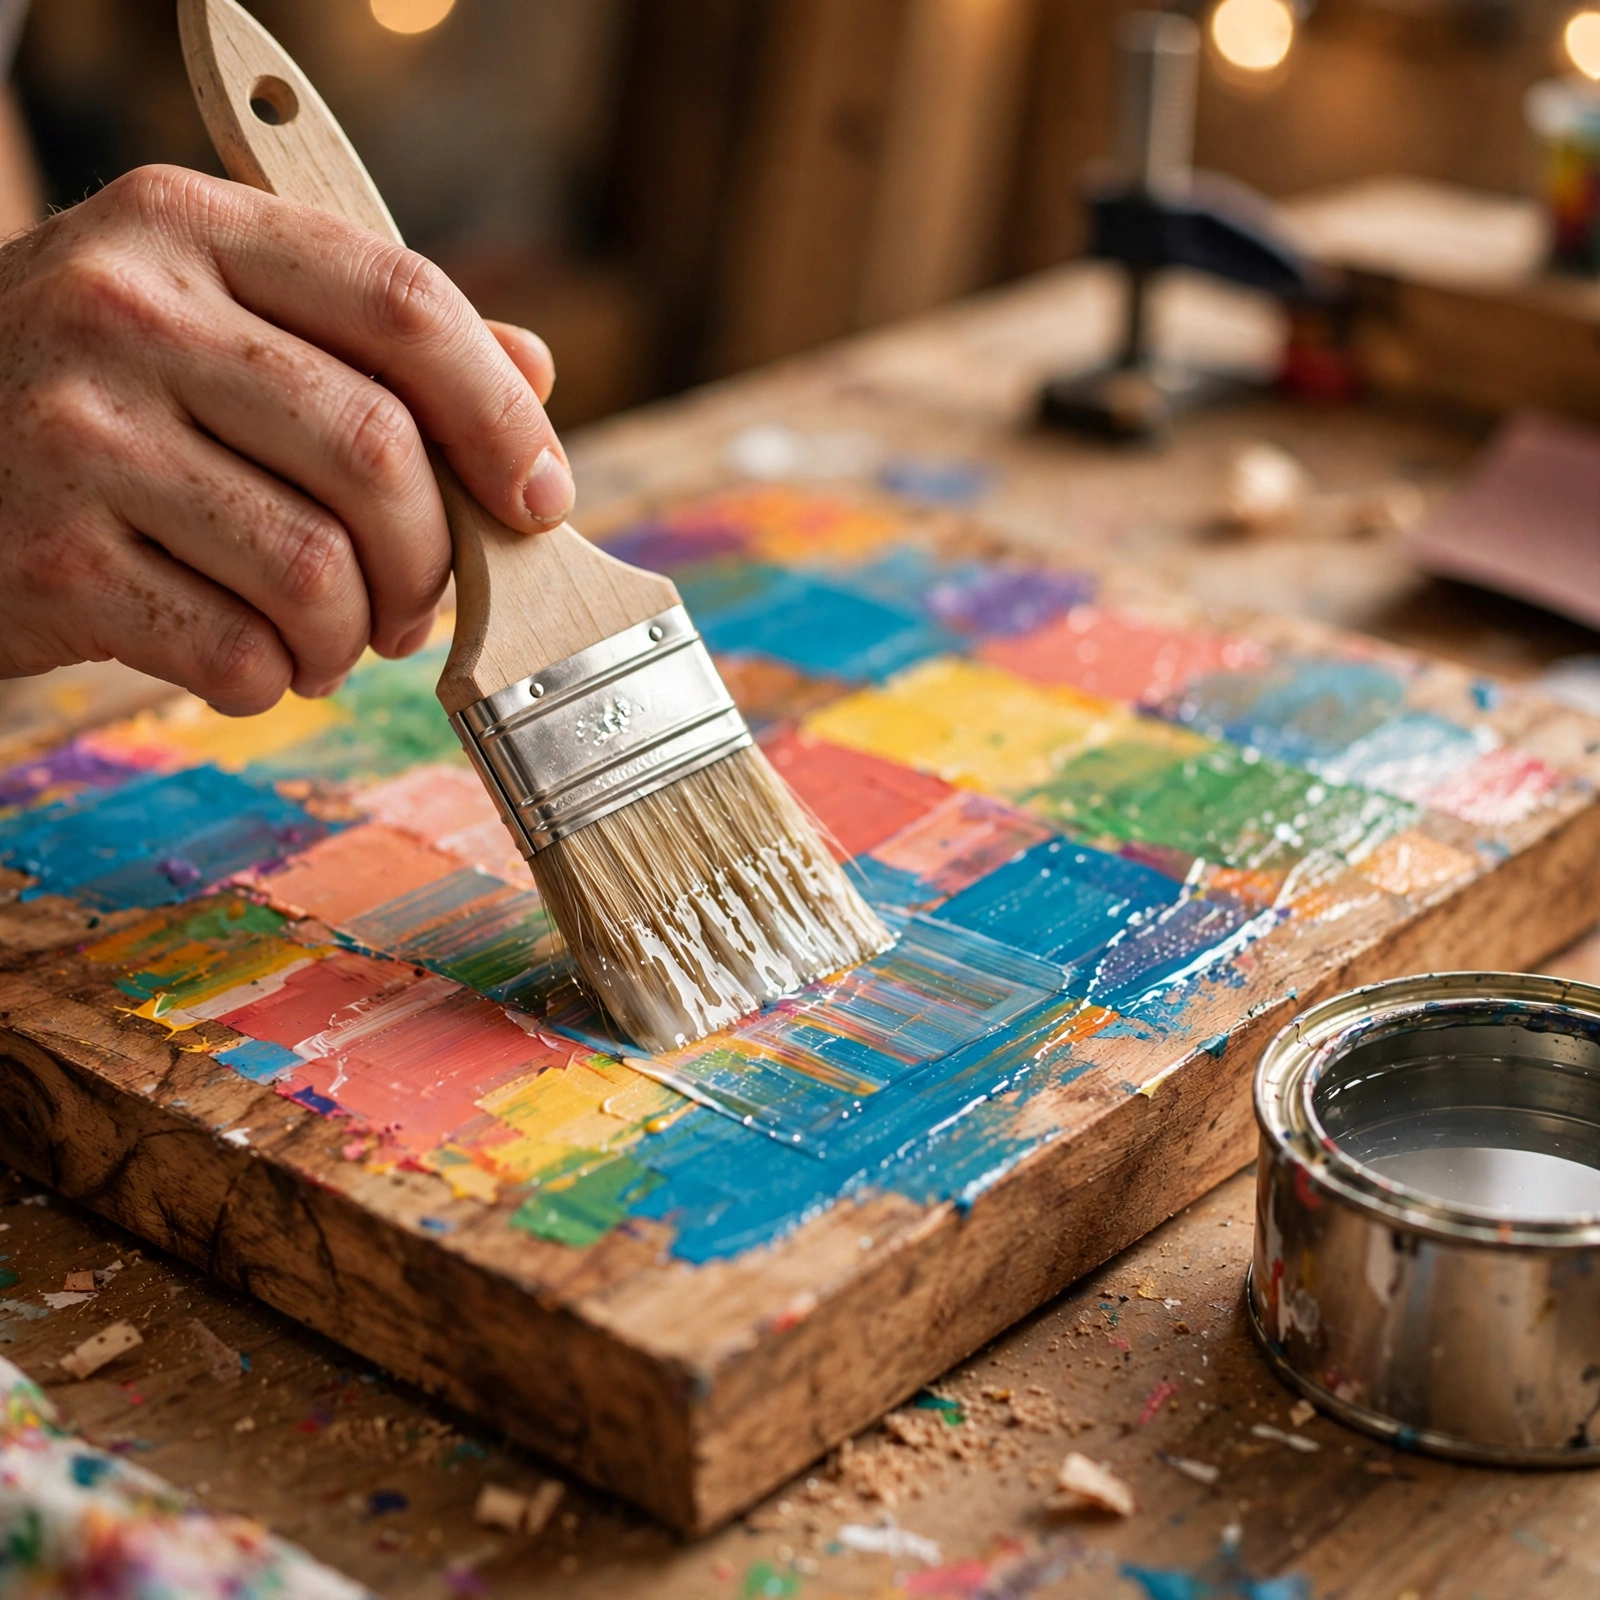

How to Seal Acrylic Paint on Wood (So It Lasts)
Acrylic paint on wood looks finished the moment the last stroke dries. It isn’t. A cured acrylic film is softer than most beginners expect — a damp mug, a thumbnail scrape, a few months of sun, and your painted sign, tray, or panel starts showing wear that the plain wood beside it never shows.
Sealing fixes that. But the word “seal” gets thrown around for two completely different jobs, and mixing them up is the single most common mistake in painted-wood projects. Job one is sealing the raw wood before you paint, so moisture and tannins in the grain can’t bleed through and stain your colors. Job two is sealing the finished painting after it cures, so the paint survives handling, spills, and weather. Get both right and a painted wood piece lasts years instead of months.
First Job: Seal the Wood Before You Paint
Paint sticks to wood — it also soaks into it. Raw wood drinks the water out of acrylic paint unevenly, which leaves patchy color, and over time it can push tannins and other impurities back up through the paint film as brownish or yellow stains. Liquitex’s own surface-preparation guidance describes this as substrate-induced discoloration and notes it occurs with acrylic mediums from every major fine-art manufacturer. The fix is old-fashioned: give the wood a barrier coat before the paint ever touches it.
Sand the raw wood smooth
Start with 120-grit paper to knock down roughness, then finish with 220-grit for a smooth painting surface. Always sand with the grain, never across it, and wipe the dust off with a tack cloth or a damp rag. Dust left behind becomes bumps under the primer.
Prime with gesso or a dedicated wood primer
Brush on one to two thin coats of artist’s gesso (for craft and art pieces) or a stain-blocking wood primer (for furniture). The primer does two things at once: it evens out the wood’s absorbency so paint sits on the surface instead of sinking in, and it blocks the tannins that cause that yellow-brown bleed-through. Let the first coat dry fully before adding the second — rushing turns the primer into a gummy layer the paint can’t grip.
Test adhesion if the piece matters
Liquitex recommends a simple check before committing to a full piece: apply your paint or medium to the prepared surface, wait 72 hours for it to cure, score the surface in a crosshatch pattern with a sharp knife, and press masking tape firmly over the cuts. If paint lifts off with the tape, adhesion failed — sand back and change the prep. Five minutes of testing beats an entire project that flakes in a year.
Second Job: Seal the Paint After It Cures
Once the paint is down, the topcoat is what stands between your work and the real world: fingers, water, dust, sun. But a topcoat is only as good as the surface it bonds to, and paint that merely feels dry is not ready for one.
Wait until the paint is fully dry — not just dry to the touch
Acrylic paint feels dry within an hour and resists smudging after a day, but the water still evaporating from inside the paint film takes much longer to leave. Sealing over paint that hasn’t finished curing traps moisture underneath, and the two classic symptoms are cloudiness in the finish and adhesion so poor it peels months later.
A practical rule: wait at least 24 hours after the final coat, and stretch that to 72 hours in a cold or damp room or over thickly painted areas. Liquitex’s varnishing guidance goes further for fine-art work, recommending up to two weeks before varnish on heavy paint. Thin craft coats on wood sit at the short end of that range; thick textured painting sits at the long end. If you’re unsure where your piece falls, our breakdown of acrylic paint drying time between coats explains what happens inside the film while you wait.
Scuff-sand lightly and remove the dust
Once cured, go over the painted surface with very fine sandpaper — 320 to 400 grit — using a light hand. You are not removing paint; you’re knocking off nibs and giving the sealer microscopic tooth to grip. Then wipe every trace of dust away with a tack cloth. Dust under a topcoat reads as roughness forever.
Which Sealer to Use: The Four That Matter
Shelves of clear finishes exist, but for acrylic on wood they collapse into four choices. Pick by answering one question: where will this piece live, and how hard a life will it lead?
Water-based polyurethane (Polycrylic) — the indoor default
For furniture, painted signs, kids’ rooms, and anything that lives inside, this is the safest answer. It dries crystal clear and — the decisive property — it does not yellow with age the way oil-based finishes do. Cleanup is soap and water, the odor is mild, and it comes in every sheen from ultra-flat to gloss. Its one hard limit: it is not rated for exterior use or direct sunlight, where it will break down instead of protecting.
Oil-based polyurethane — tougher, but it ambers
Oil-based poly is harder and slightly more scratch-resistant than the water-based version, which is why it survives decades on floors. But its resins oxidize over time, taking on a progressively warmer amber tone. Over dark walnut that reads as character; over white or pastel acrylics it is ruin. The single most common clear-coat regret in painted furniture is picking oil-based poly for a bright piece, then watching it amber over a few months. If the colors must stay true, don’t use it.
Spar urethane — the outdoor choice
Anything that sees rain, sun, or freeze-thaw needs a finish formulated for exactly that. Spar urethane — Minwax’s Helmsman line is the benchmark — carries UV blockers to slow sun fading, forms a barrier against rain and moisture, and stays flexible so it expands and contracts with the wood instead of cracking as seasons change. It comes in oil-based and water-based versions; the water-based one stays crystal clear over light colors. Reserve it for genuinely outdoor pieces — it’s a heavier finish than indoor ones.
Artist acrylic varnish — for painted art pieces
When the piece is artwork rather than furniture — a painted panel, a sign you’re proud of — an artist-grade acrylic varnish gives the most invisible, color-true protection. Liquitex’s varnishing rules are worth following regardless of brand: apply thin coats, use no more than one or two of matte or satin (build thickness with gloss varnish first, then finish with your chosen sheen), don’t over-brush an area once you’ve left it, and always test first. This is the same finish family our guide to how to varnish an acrylic painting covers for canvas work — the wood-panel version follows the same chemistry.
One honest exclusion: Mod Podge. It’s cheap, widely available, and perfectly fine for indoor decorative crafts, but its durability is limited — it softens with moisture and scratches easily. For anything you’ll handle daily or set outside, it isn’t the tool.
How to Apply the Topcoat
The sealer you choose matters less than how you put it on. Nearly every failed clear coat traces back to application, not product.
Work flat, dust-free, and ventilated
Set the piece flat on a table so the finish self-levels instead of running. Work in a clean room — airborne dust landing in wet finish is the most common cause of a rough surface — and keep air moving, especially with sprays and oil-based products.
Brush on thin, even coats
Use a clean synthetic-bristle brush (natural bristles shed and drink up water-based finishes) or a foam brush, and lay the sealer on in long, even strokes. Thin coats beat one thick one: a thick coat dries slowly, can dry cloudy, and shows brush marks. Never shake a water-based finish — stir it gently; shaking whips in bubbles that dry as pinholes.
Sand lightly between coats
After each coat dries — about two hours for water-based products — scuff the surface with 320-grit paper, wipe with a tack cloth, and apply the next coat. Two to three coats is the working standard for a durable finish; light-use decorative pieces can stop at two.
Let the finish fully cure before heavy use
Water-based finishes feel dry in a few hours but reach full hardness over roughly 30 days. Light use is fine after 24–48 hours, but treat the surface gently for the first month — setting a heavy object down early can leave a permanent dent in an otherwise perfect finish.
Mistakes That Ruin the Finish
Every one of these shows up constantly in craft forums, always written by someone who learned it the hard way.
Sealing before the paint cures
“Feels dry” is not cured. Trapped moisture means cloudiness and peeling — sometimes months later.
Using oil-based poly over white or light colors
The amber shift is chemistry, not a defect. Plan for it or skip oil-based finishes on light paint.
Skipping primer on raw wood
Tannin bleed shows up months after the project is “done,” when it’s far too late to fix without starting over.
Taking an indoor sealer outdoors
Polycrylic on a garden sign will break down; spar urethane belongs outside. Match the finish to the location.
Over-brushing and going back over wet areas
With water-based finishes, dragging a brush through a partially set layer dries cloudy. Once you’ve left an area, leave it — catch misses on the next coat.
Choosing Quickly: The Decision Guide
| Your piece | Reach for | Why |
|---|---|---|
| Indoor furniture, signs, decor | Water-based polyurethane (Polycrylic) | Crystal clear, non-yellowing, easy cleanup |
| Anything outdoors | Spar urethane | UV blockers, moisture barrier, flexes with the wood |
| Painted art pieces | Artist acrylic varnish | Most invisible, color-true protection |
| High-wear indoor, dark colors only | Oil-based polyurethane | Hardest film — amber shift is invisible on dark paint |
| Kids’ crafts, indoor only | Mod Podge | Cheap and easy, but limited durability |
Sealing acrylic paint on wood is really two habits: a primer coat before the fun starts, and a protective coat after the paint has truly cured. Match the topcoat to where the piece will live, keep every coat thin, and respect the cure times. That’s the whole craft — and your painted wood will outlast the trends it was painted for.
Do I need to seal acrylic paint on wood?
Yes, if the piece will be handled, washed, or displayed outside. Acrylic paint cures to a relatively soft film that scuffs, absorbs moisture, and fades in sunlight. A sealer adds a hard protective shell. Indoor decorative pieces can skip it, but they’ll show wear faster.
How long should acrylic paint dry before sealing?
Wait at least 24 hours after the final coat, and up to 72 hours in cold or humid conditions or over thick paint layers. Liquitex recommends up to two weeks before varnish on thick fine-art paint. Sealing too early traps moisture, which can cause cloudiness or peeling.
Can I use polyurethane over acrylic paint?
Yes, as long as the paint is fully cured and lightly scuff-sanded first. Use a water-based polyurethane to keep colors true — oil-based polyurethane will amber over time, especially over white or light colors.
Does Polycrylic yellow over time?
No. Polycrylic is a water-based finish engineered to dry and stay crystal clear — it lacks the oxidizing alkyd resins that make oil-based finishes amber. Its limitation is that it’s indoor-only and not rated for exterior use or direct sunlight.
What is the best sealer for outdoor painted wood?
Spar urethane, such as Minwax Helmsman. It contains UV blockers to slow sun fading, forms a barrier against rain and moisture, and stays flexible so it expands and contracts with the wood instead of cracking as seasons change.
