

Pumpkin Painting Ideas: Best Paints and Easy Designs for 2026
Carving pumpkins is classic, but painting them is easier, safer for kids, and the designs last the whole season — and if you already paint with acrylics, the techniques transfer directly (our acrylic blending guide covers the brushwork basics). The only question that stops most people before they start is simple: what is the best paint for pumpkins, and what should you actually paint on them? This guide answers both — the right paints (and the ones to avoid), how to prep a pumpkin so paint sticks, and ten pumpkin painting ideas for 2026, from toddler-easy to genuinely chic.
What Is the Best Paint for Pumpkins?
The short answer: acrylic craft paint is the best paint for pumpkins. It is affordable, comes in every color, dries fast, and once dry it holds up indoors and out. Val Studer, Senior Project Designer at Michaels, calls it “the gold standard for pumpkin painting” — affordable, fast-drying, and available in nearly any color (HGTV). A pumpkin’s skin is curved and slightly slick, so the paint you choose matters more than it does on paper or canvas.
Acrylic craft paint — the gold standard
Standard acrylic craft paint (the little bottles from the craft store) is what most experienced pumpkin painters reach for. It adheres well to the pumpkin’s waxy skin, dries to a durable finish, and resists fading. Apply it in two thin coats rather than one thick coat — thin layers dry faster, give more even coverage, and will not pool in the pumpkin’s ridges or peel later. (The same rule applies to drying time between coats on any acrylic project.) Thin coats of acrylic dry in roughly 10 minutes, so you will not be waiting long between layers.
Tempera paint — best for young kids
If you are painting pumpkins with toddlers or preschoolers, washable tempera paint is the friendlier choice. It is non-toxic, cleans up with water, and handles little hands well. The trade-off is durability: tempera will not survive rain or heavy handling the way acrylic does. For pumpkins that will sit on a porch, plan to seal tempera-painted pumpkins with a clear spray sealer afterward.
Spray paint — best for full-coverage base coats
When you want an entire pumpkin one solid color — matte black, metallic gold, all-white — spray paint is faster than a brush and leaves no brush strokes. Use it outdoors or in a well-ventilated space, apply two light coats, and let each coat dry fully before the next. It also works well as a primer base under detailed brushwork.
Paint pens — best for details and lettering
Acrylic paint pens (POSCA-style markers) are the secret weapon for crisp lines, doodles, lettering, and outlines. They give you the control of a pen with the opacity of paint, and they are far easier than a fine brush for writing words or drawing faces on a curved surface.
Paints to avoid on pumpkins
Not every paint works on a pumpkin’s slick skin. Oil-based paints take far too long to dry — a real problem with impatient kids around. Watercolor will not adhere at all and washes away with the first damp day. And standard washable kids’ poster paint (other than tempera) tends to flake off once dry. When in doubt, test any unfamiliar paint on a small hidden spot near the stem first.
How to Prep a Pumpkin for Painting
Paint sticks best to a clean, dry pumpkin. This five-minute prep makes the difference between paint that lasts weeks and paint that flakes by the weekend.
Step 1: Choose a good pumpkin
Pick pumpkins that are firm with no soft spots, minimal bruising, and a flat, stable bottom so they will not wobble while you paint. Any size works — minis are great for kids and for grouped displays.
Step 2: Wash and dry it completely
Wipe the pumpkin with a damp cloth (or wash with mild soap and water) to remove dirt, dust, and field residue. Then dry it thoroughly with a towel and let it air-dry a few more minutes. Paint will not adhere to a damp or dusty surface.
Step 3: Sketch your design lightly
Lightly sketch your design with a pencil before you paint. On dark pumpkins, a white charcoal pencil shows up better. A rough outline prevents the mid-painting regret of a lopsided face — and pencil lines disappear under acrylic.
Step 4: Paint in thin layers
Start with the largest areas and lightest colors first, let each layer dry before painting next to it, and keep a damp cloth nearby to wipe away mistakes before they dry. Two thin coats beat one thick coat every time.
10 Easy Pumpkin Painting Ideas for 2026
These pumpkin painting ideas are ordered from easiest to most involved. Every one of them is carve-free, so the whole family can join in.
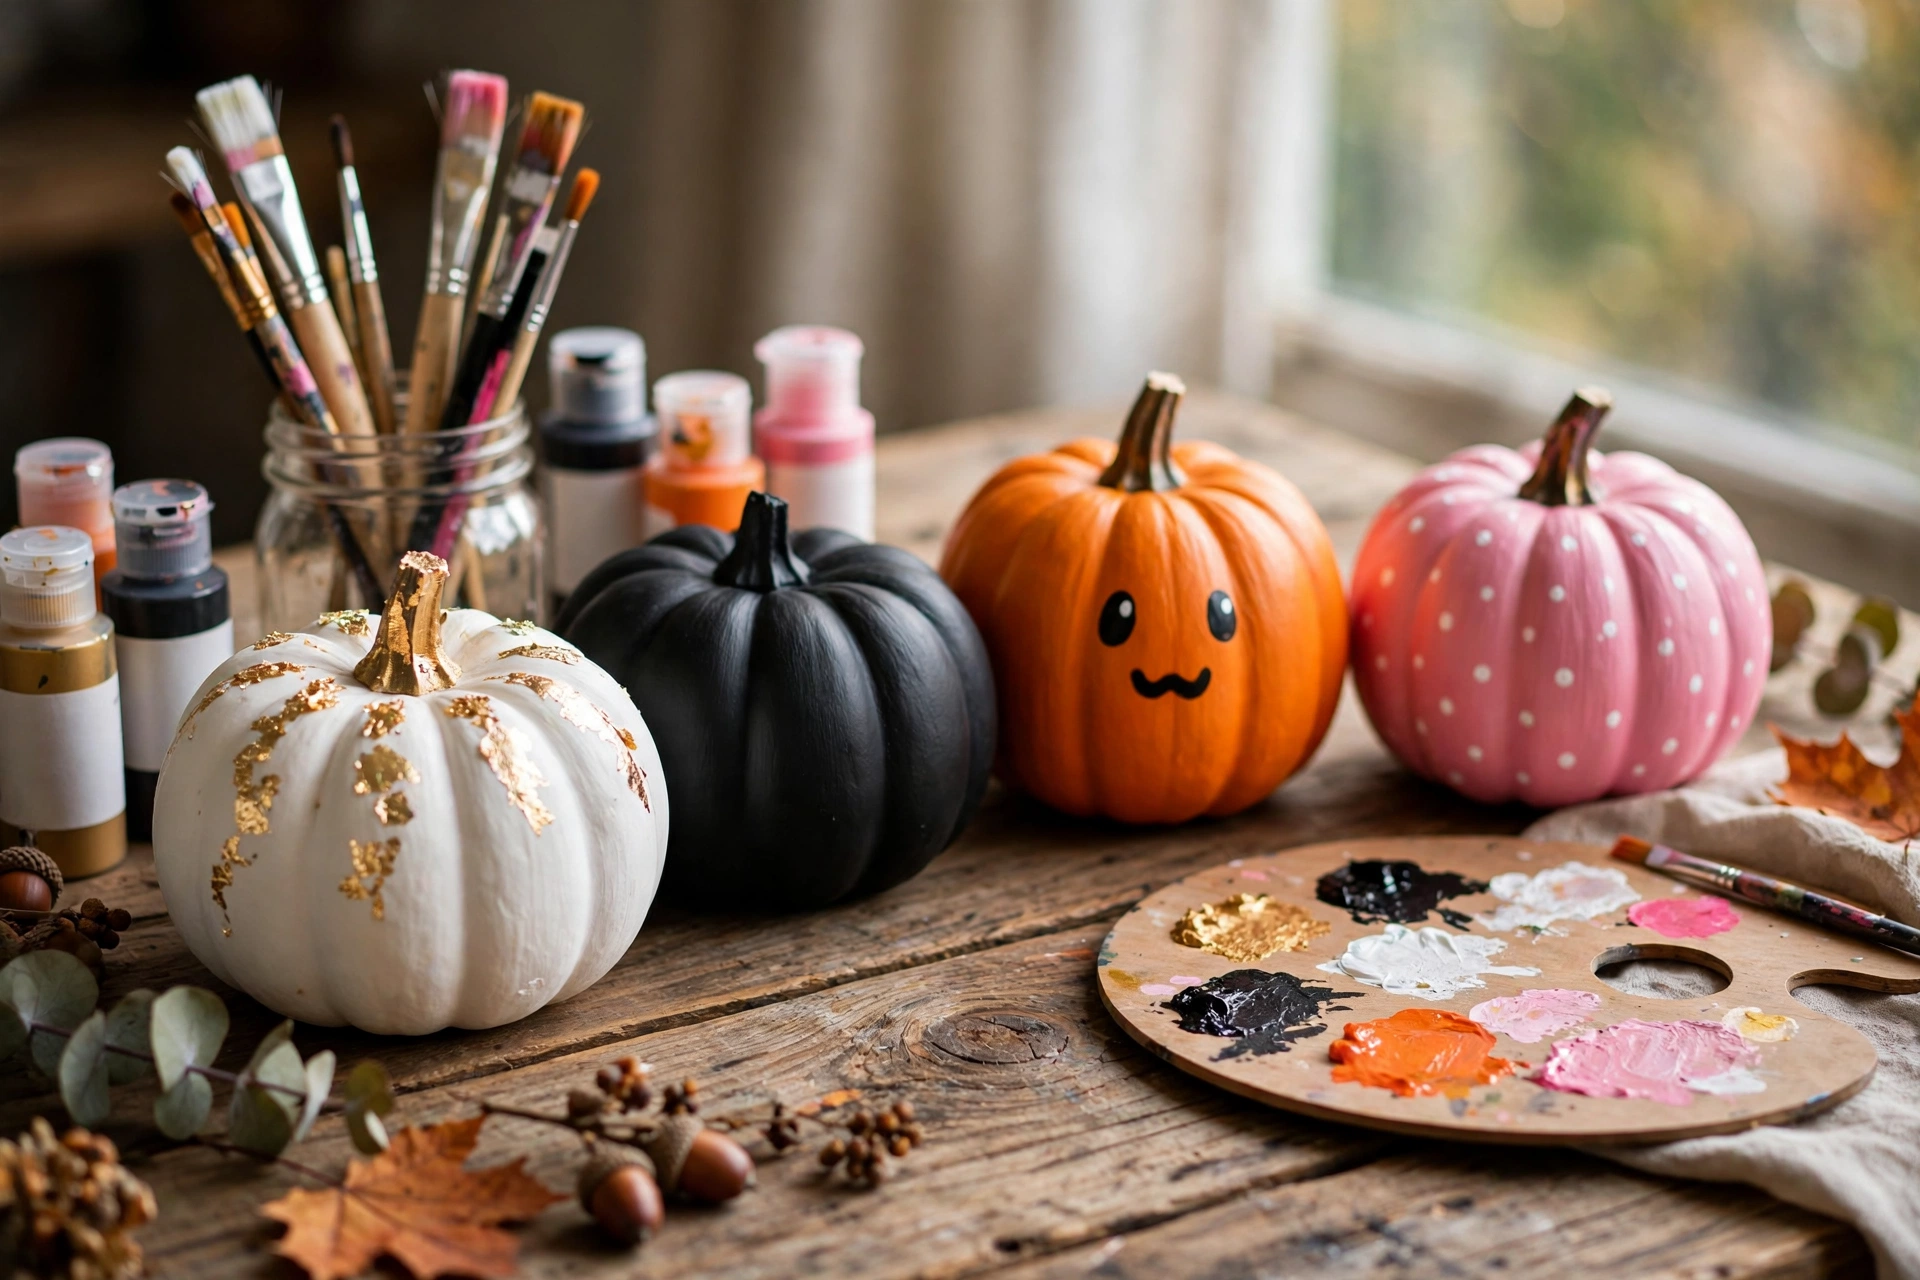
1. All-white minimalist pumpkin with gold leaf
The chicest look of the season: two thin coats of white paint, then press small pieces of gold leaf onto the ridges while the paint is still slightly tacky. No adhesive needed. It looks expensive and takes twenty minutes — perfect for entryways and Thanksgiving tables that need to look pulled-together.
2. Matte black velvet pumpkin
Matte black is having a fall moment. Spray two light coats of matte black, and while the last coat is barely tacky, mist on velvet flocking spray for a soft, suede-like texture. Moody, tactile, and very 2026 — ideal for a grown-up Halloween tablescape.
3. Candy corn mini pumpkins
The easiest design on this list. Divide a mini pumpkin into three horizontal bands and paint them yellow, orange, and white — classic candy corn. Kids can do this one with almost no help, and a cluster of them in a bowl makes an instant centerpiece.
4. Galaxy pumpkin
Sponge on dark blue, purple, and black in soft layers, then flick white paint off a toothbrush for stars. A galaxy pumpkin looks impressive but requires zero drawing skill — the sponge does all the work. It is a favorite for teens and adults alike.
5. Doodle pumpkin
Paint the pumpkin one solid base color, then cover it in doodles with paint pens — stars, flowers, ghosts, spirals, whatever comes to mind. This is the most personal of all pumpkin painting ideas: no two ever look alike, and it is genuinely relaxing to make.
6. Pink ghost pumpkins
Pastel Halloween is a defining 2026 trend — stylists are swapping classic orange-and-black for pink ghosts, pastel bats, and checkerboard patterns this year (Homes & Gardens). Paint small pumpkins soft pink or cream, add simple ghost faces in black, and paint the stems gold. Sweet rather than spooky — they photograph beautifully and fit the “whimsigoth” aesthetic all over social media this fall.
7. Buffalo check plaid pumpkin
Use painter’s tape to mask a grid, then paint the exposed squares in two alternating colors (navy and white is classic). Peel the tape once dry for crisp lines. Cozy, cabin-core, and it carries you straight through Thanksgiving without looking Halloweeny.
8. Day of the Dead sugar skull
Paint the pumpkin white, then add a colorful sugar-skull face: flower eyes, a heart nose, stitched mouth. Bright pinks, blues, and yellows on white read festive rather than frightening, and the symmetrical design is easier than it looks if you sketch it first.
9. Emoji face pumpkin
Paint the pumpkin bright yellow and add a favorite emoji expression in black — heart eyes and laughing faces are the most requested by kids. Instant, recognizable, and funny. A row of different emoji pumpkins on the porch is a guaranteed crowd-pleaser.
10. Bejeweled pumpkin
Paint your base color, then glue on craft-store gems, pearls, or rhinestones while the paint is tacky (or use a dab of hot glue). Gold gems on a black pumpkin, or pearls on white, look straight out of a boutique — this is the design guests ask about.
How to Make Painted Pumpkins Last
A painted pumpkin can last the entire fall season with a little protection. Once the paint is fully dry (give it 24 hours), brush or spray on a thin coat of clear acrylic sealer — matte for a natural look, gloss for shine. The sealer locks the paint down and adds real weather resistance. Keep outdoor pumpkins somewhere sheltered from direct rain, and bring them in during heavy storms. Foam craft pumpkins are worth considering for porch displays: they never rot, they take paint beautifully, and you can reuse them next year.
-
What kind of paint do you use on pumpkins?
Acrylic craft paint is the best all-around choice for painting pumpkins — it adheres to the slick skin, dries fast, and lasts. Tempera paint works for young kids’ projects but needs sealing for outdoor use. Avoid oil-based paints (too slow to dry) and watercolor (will not stick).
-
Do you need to prime a pumpkin before painting?
Priming is optional. A coat of white or light-colored paint as a base makes bright colors pop and covers the orange underneath, which effectively acts as a primer. For glitter designs, a thin layer of glue under the glitter helps it stick. Most crafters skip formal primer entirely.
-
How do you seal a painted pumpkin?
Once the paint has dried for 24 hours, apply one thin coat of clear acrylic sealer — spray sealer is easiest and most even. Let it dry fully before handling. Sealing is especially important for pumpkins displayed outdoors or painted with tempera.
-
Will painted pumpkins rot?
Painting does not stop a pumpkin from eventually rotting, but an uncarved painted pumpkin lasts far longer than a carved one — typically several weeks to the full season, since the skin stays intact. Choose a firm, unblemished pumpkin and keep it dry to maximize its life.
-
Can toddlers paint pumpkins safely?
Yes — pumpkin painting is one of the safest fall crafts for toddlers because there is no carving involved. Use washable, non-toxic tempera paint, cover clothes and tables, and supervise. Fingerprint art (bugs, bees, ladybugs made from fingertip prints) is a perfect toddler pumpkin painting idea.
