

How to Meal Prep for Beginners: Your First Week, Step by Step
Meal prep has a reputation problem. Online it looks like a competitive sport: twenty identical glass containers lined up on a marble counter. Real meal prep is much smaller than that — simply cooking once so you can eat several times without thinking about it on a busy Tuesday night.
This guide strips it down to a first week anyone can manage: one meal type, a single two-hour session, and the food-safety rules that keep everything safe to eat. No fancy gear, no twenty-container photoshoot.
What Meal Prep Actually Is (and What It Isn’t)
At its core, meal prep is an organization system, not a cooking skill. You plan a few meals in advance, cook them in one batch, and store them so they’re ready when you are. You don’t need cooking talent, and you don’t need to prep every meal you eat.
It’s also not the same as freezing a month of food or eating the same chicken and rice five days straight. For your first week, forget the all-or-nothing version. Prep one meal type for five days and see how it feels. If it saves you time and stress, you’ll do more next week.
The Golden Rule for Beginners: Start With One Meal Type
This is where most beginners go wrong. They try to prep breakfast, lunch, and dinner for a full week on day one, spend six hours in the kitchen, and never do it again. The fix is simple: pick one meal and get good at prepping it.
Breakfasts are the easiest place to start
Breakfasts are small and forgiving. Overnight oats, baked oatmeal, and egg muffins take under 30 minutes of active work and keep three to four days in the fridge. If mornings are the most chaotic part of your day, start here.
Lunches are the runner-up
If your weekdays involve sad desk lunches or expensive takeout, prepping lunches is where you’ll feel the biggest payoff. Grain bowls, hearty soups, pasta bakes, and wrap kits are classic lunch-prep staples because they reheat well and can be varied with different toppings through the week.
The 15-Minute Planning Session (Do This Before You Shop)
The cooking isn’t the hard part — the planning is. Before you buy a single ingredient, sit down for fifteen minutes and make three decisions. This small step separates a smooth two-hour session from a chaotic five-hour one.
Pick two or three recipes, max
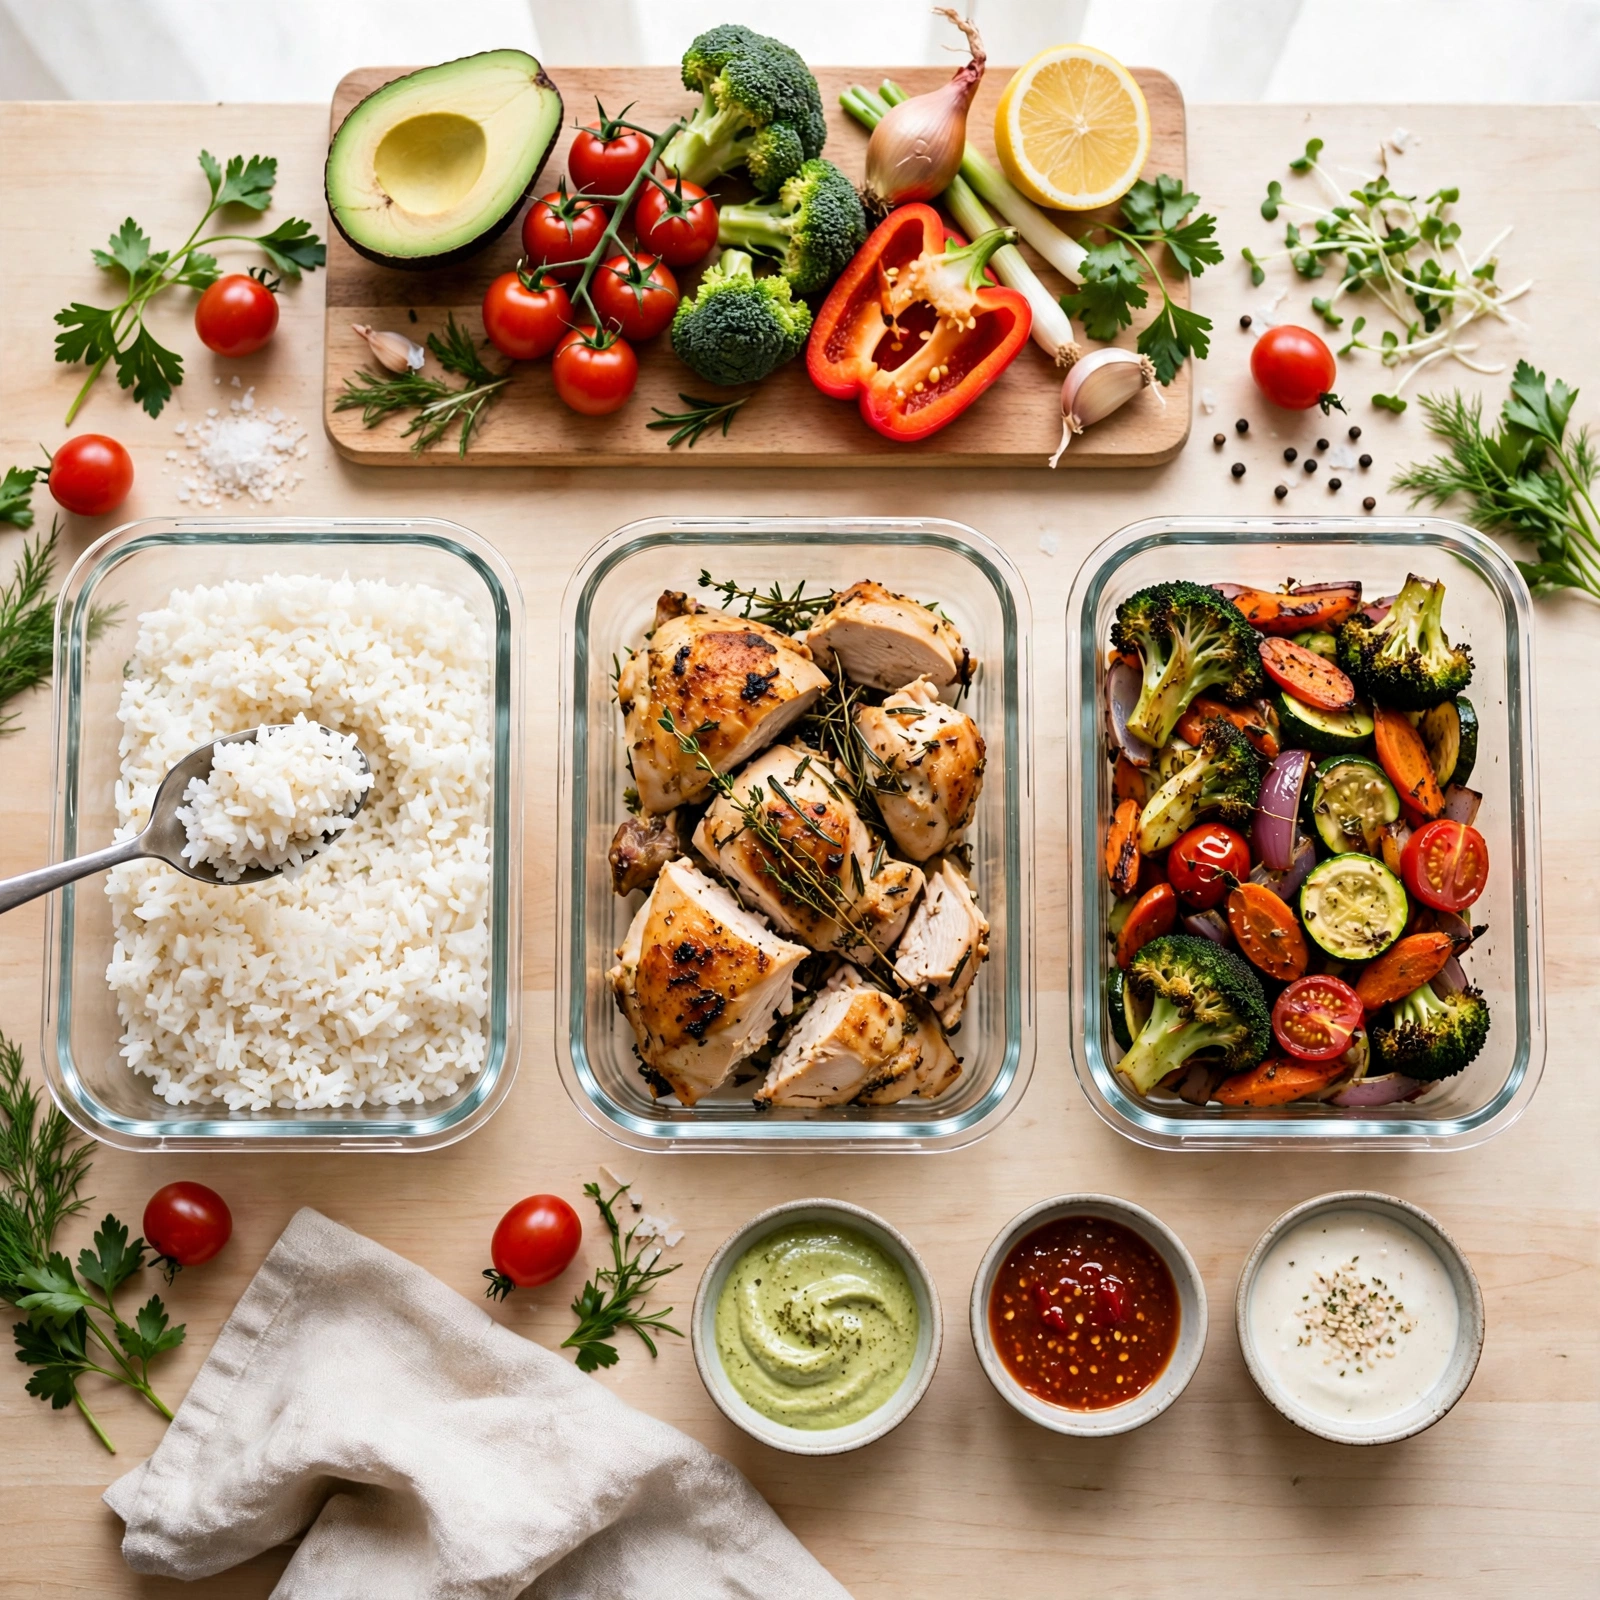
Choose recipes that share ingredients. A sheet-pan chicken and vegetable tray plus a big pot of rice gives you components to mix into bowls all week. Recipes from the same cuisine share spices and sauces, which keeps your shopping list short.
Write the list straight from the recipes
Go through each recipe line by line and write down every ingredient you need. Then — and this is the step beginners skip — walk to your kitchen and cross off what you already have. Impulse grocery runs happen when people shop from memory instead of a list.
Shop your kitchen first
Before you spend anything, check what needs using up: the half bag of rice, the vegetables that are fine today but won’t be on Friday. Building your plan around ingredients you already own cuts waste. This habit alone can trim a weekly grocery bill more than any coupon.
The Gear You Actually Need (You Probably Own Most of It)
You do not need a matching set of meal-prep containers, a food scale, and a vacuum sealer. Beginners need exactly two categories of equipment, and you likely own one of them already.
Containers that matter
A set of airtight containers in one or two sizes is the only purchase worth making early. Glass or plastic both work — what matters is that they seal well and stack neatly. Buy five to start; you can always buy more once the habit sticks.
Everything else you already own
For batch cooking, you need a large sheet pan, a big pot or skillet, a sharp knife, and a cutting board. A roll of masking tape and a marker for labeling is equipment too.
Your First 2-Hour Session, Minute by Minute
Here’s what a beginner session looks like in practice. The example below assumes you’re prepping five lunches — a grain base, a protein, and roasted vegetables — but the rhythm is the same no matter what you’re cooking: prep everything, cook the long items first, finish while things are hot, and store while things cool.
Minutes 0–15: set up and prep
Preheat the oven. Rinse and chop all your vegetables. Season your protein. Get the grain cooking on the stove. The goal: get the longest-cooking items going and everything else ready to cook.
Minutes 15–60: cook the big things
While the grain simmers and the vegetables roast, cook your protein. Stir the grain occasionally, flip the vegetables once. Whisk a quick sauce or dressing during the last ten minutes — it takes two minutes and transforms the week’s bowls.
Minutes 60–90: cool and portion
Pull everything off the heat and portion into your containers while it cools slightly — five containers, roughly equal amounts. Noticing whether you cooked enough or too much is the lesson that makes next week easier.
Minutes 90–120: label, store, and clean
Label each container with the contents and the date, and put them straight in the fridge. Then clean up while you still have energy — ending with a clean kitchen is part of the system.
Food-Safety Rules You Can’t Skip
Meal prep only works if the food is still safe on day five. These aren’t suggestions — they’re the USDA’s food-safety guidelines for leftovers, and every meal prepper should know them by heart.
The 2-hour rule
Refrigerate leftovers within two hours of cooking — one hour if the kitchen is hotter than 90°F (32°C). Bacteria multiply fastest between 40°F and 140°F, so less time in that range means safer food. Contrary to old advice, you don’t have to wait for room temperature first — warm food can go straight in.
The 3–4 day rule
Eat refrigerated leftovers within three to four days. If you prep on Sunday, plan to finish the last container by Wednesday or Thursday. Anything you won’t eat in that window should go in the freezer, where it stays safe for months (best quality within two to six months).
Reheat to 165°F
Bring reheated meals to 165°F (74°C) throughout — sauces, soups, and stews should reach a rolling boil. A cheap food thermometer removes the guesswork. And only reheat what you’re about to eat; repeatedly cooling and reheating the same container makes food go bad early.
Keep the fridge at 40°F or below
Refrigeration slows bacterial growth but doesn’t stop it — and only if the fridge is cold enough. Keep it at or below 40°F (4°C). If you’re not sure what temperature your fridge runs at, a five-dollar fridge thermometer will tell you in an hour.
How Long Prepped Food Actually Lasts
Not every food keeps the same amount of time. Use this quick reference (based on USDA storage guidance) when deciding what to cook and when to eat it. If you want per-item details, the USDA’s FoodKeeper app covers hundreds of foods.
Cooked chicken, turkey, or beef
Three to four days in the fridge. Plan to eat these portions first in the week.
Cooked rice, pasta, and grains
Three to four days in the fridge. Store in shallow containers so they cool quickly, and reheat thoroughly before eating.
Roasted or cooked vegetables
Three to four days in the fridge. Keep them slightly firm when roasting — they’ll soften a little more when reheated.
Hard-boiled eggs
Up to a week in the fridge, in the shell. Peel them just before eating.
Soups and stews
Three to four days in the fridge. They reheat better than almost anything on this list — flavors often improve by day two.
Three Mistakes That Ruin Your First Week
Almost every beginner stumbles on the same few things. Knowing them in advance means you’ll dodge all three.
Cooking five different meals
The variety instinct is strong, but five recipes mean five shopping lists, five cooking times, and a five-hour kitchen session. Week one is about the system, not the menu. Cook two or three components well; variety comes later.
Prepping food that goes soggy by day two
Crispy things don’t stay crispy in a sealed container, and dressed salads wilt. Keep crunchy toppings in a separate small container and add them at mealtime; store sauces and dressings separately too.
Skipping the labels
By Wednesday, every container looks the same, and mystery food gets thrown away. A piece of tape with “chicken + rice — Sunday” takes five seconds and saves you from sniffing containers on Thursday wondering which day you cooked what.
Frequently Asked Questions
How many days ahead should a beginner meal prep?
Four days is the practical maximum for cooked proteins, per the USDA’s 3–4 day rule. For a fifth day, freeze that portion on prep day and thaw it in the fridge overnight.
Do I need special meal prep containers to start?
No. Any airtight containers you already own will do for the first session — mismatched plastic containers are fine. Once you’ve prepped for a few weeks and know the habit is sticking, consider a matching set that stacks well in your fridge.
Can I freeze my prepped meals?
Yes. Most cooked meals freeze well for two to six months. Cool the food first, use freezer-safe containers or bags, squeeze out excess air, and label with the contents and date. Move a portion to the fridge the night before you want to eat it so it thaws safely overnight.
What if I get bored of eating the same thing?
Prep components instead of finished meals. Cook a grain, a protein, and two vegetables, then vary the combinations, sauces, and toppings through the week. One batch of chicken becomes a rice bowl on Monday, a wrap on Tuesday, and a soup topper on Wednesday — same cooking, different meals.
Start This Sunday
Meal prep isn’t a personality trait — it’s a system, and systems can be started small. Pick one meal type, plan for fifteen minutes, cook for two hours, and follow the food-safety rules above. Do it once, and you’ll have five ready meals waiting in your fridge instead of five daily decisions to make. Building that rhythm is what makes a balanced lifestyle easier — and if you want to make the habit stick, it helps to understand how small routines become second nature through consistent mindset shifts. Some people even keep a simple log of what they cooked each week, which makes planning the next one faster.
How many days ahead should a beginner meal prep?
Four days is the practical maximum for cooked proteins, per the USDA’s 3–4 day rule. For a fifth day, freeze that portion on prep day and thaw it in the fridge overnight.
Do I need special meal prep containers to start?
No. Any airtight containers you already own will do for the first session — mismatched plastic containers are fine. Once you’ve prepped for a few weeks and know the habit is sticking, consider a matching set that stacks well in your fridge.
Can I freeze my prepped meals?
Yes. Most cooked meals freeze well for two to six months. Cool the food first, use freezer-safe containers or bags, squeeze out excess air, and label with the contents and date. Move a portion to the fridge the night before you want to eat it so it thaws safely overnight.
What if I get bored of eating the same thing?
Prep components instead of finished meals. Cook a grain, a protein, and two vegetables, then vary the combinations, sauces, and toppings through the week. One batch of chicken becomes a rice bowl on Monday, a wrap on Tuesday, and a soup topper on Wednesday — same cooking, different meals.
