

Most people who want to get better at detailing buy more products. A new soap. A fancier wax. A third polisher. The pros will tell you the same thing every time: skill beats stuff. A careful detailer with a bucket, a mitt, and a ten-dollar clay bar will outshine a beginner with a garage full of gear.
Detailing is a craft you learn with your hands, one panel at a time. This guide walks through the five core skills in the order you should learn them, shows you how to tell whether your work is actually good, and gives you drills and a 12-week plan to get there. If you stick with it, the same path leads to paid work.
What “good detailing” actually looks like
A good detail is not just a clean car. It is a car with no new swirls from the wash, paint that feels smooth as glass, defects reduced instead of hidden, and protection that beads water evenly. Do not skip a rung: a bad wash creates swirls that polishing has to fix, and polishing dirty paint just grinds grit into the clear coat.
| Level | You can do | Move on when… |
|---|---|---|
| 1. Beginner | Safe wash, drying, wheels, glass, basic interior wipe-down | You can wash a dark car and find no new swirls under a flashlight |
| 2. Confident | Iron remover, clay bar, spray protection | Paint feels smooth as glass under the baggie test, and protection beads water evenly |
| 3. Skilled | Machine polishing, one-step paint correction | A test spot clears most swirls with no haze or holograms |
| 4. Advanced | Multi-stage correction, ceramic coatings, carpet extraction | You can correct a whole car evenly, panel to panel, and coatings cure without high spots |
The five core skills, in the order to learn them
Learn them in this order. Each one makes the next one possible, and each one is a skill you can practice on its own before you ever touch a machine polisher.
1. The safe wash
The wash is where most swirls are born, so it is the first skill to master. Use the two-bucket method: one bucket holds soapy water, the other holds rinse water, with grit guards in both. Rinse first, then lay down a foam pre-soak and let it dwell two to four minutes. Wash top to bottom, one panel at a time, in straight lines, rinsing the mitt before reloading it with soap. Use a pH-neutral car shampoo, never dish soap, which strips wax and dries out trim. Keep a separate mitt and brushes for the wheels so brake dust never reaches your paint.
Dry with a plush microfiber towel and a drying aid spray, and blow water out of mirrors, emblems, and trim gaps where it hides. Never wash in direct sun: heat dries soap on the panels and leaves spots before you can rinse. If you cannot wash without adding swirls, polishing is just repair work for damage you caused yourself.
2. Decontamination: clay and iron remover
Washing removes loose dirt. It does not remove the stuff bonded to the paint: rail dust, brake dust, tree sap, tar, and industrial fallout. Spray iron remover on the lower panels and wheels first and let it dwell until it changes color, usually to purple or red, as it reacts with iron particles. Rinse it off completely and never let it dry on the surface.
Then clay the paint. Spray lubricant liberally on a small section and glide the clay in straight lines until the resistance fades and the surface feels smooth. If you drop the clay, throw it away: one grain of grit from the floor will scratch every panel it touches. This step is the reason your wax lasts. Protection bonds to clean, smooth paint, and it does not stick well to a contaminated surface.
3. Machine polishing
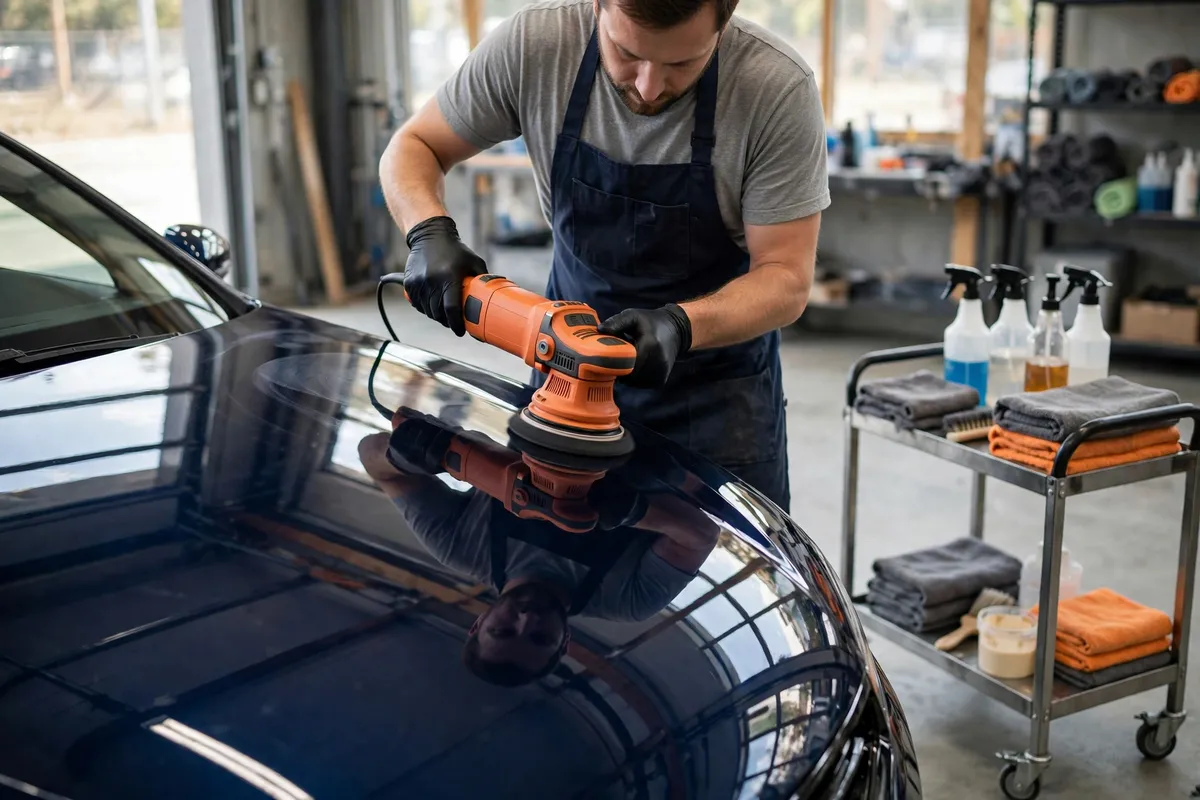
Machine polishing is the skill people find hardest, and it is the one that separates a good detail from a great one. A dual-action (DA) polisher spins and oscillates at the same time, so it generates far less heat than a rotary polisher and is much more forgiving to learn on. Start with a DA. A rotary can burn through clear coat in seconds in untrained hands, and there is no reason to touch one until a DA feels easy.
Always start with a test spot and the least aggressive pad and polish combination that gets the job done. Four or five pea-sized drops on the pad is enough. Prime a new pad first, spread the product at a low speed, then work the section in slow, overlapping cross-hatch passes, keeping the pad flat at all times. Start and stop the machine while it is still against the paintwork so product does not sling everywhere. The numbers below come from Autogeek’s and Meguiar’s DA guides. They are starting points: always follow the label on the product you are using.
| Task | Speed setting | Pressure | Arm speed | Section size |
|---|---|---|---|---|
| Spreading product | 1-2 | Just the weight of the machine | Slow | About 2 x 2 ft |
| Light polishing | 4.5-5 | 10-15 lbs | Slow, about 1-2 inches per second | About 1 sq ft |
| Defect removal | 5 | 15-20 lbs | Slow, overlapping passes | About 1 sq ft |
Work the polish until the abrasives have broken down, usually four to eight complete passes, then wipe the residue and inspect under light before moving on. Tape off edges, badges, and rubber trim first: edges have thin paint and trim stains easily. Practice on a scrap panel from a junkyard before you polish a real car. It costs almost nothing, and it is where you learn what too much pressure feels like without paying for the lesson.
4. Interior detailing
Interiors are the safest place to build confidence. You cannot burn through clear coat on a leather seat, but a dirty interior transformed into a clean one is a huge visible win. Start by emptying the car completely, every item out, mats out. The same sort-and-purge habit that works for a house works here, and our guide to how to declutter your home room by room uses the same approach: everything out, decide what stays, then clean what is left.
Vacuum top to bottom, loosening debris from seams and vents with a soft brush first. Wipe plastics with an interior cleaner on a microfiber, and use a detail brush for vents and buttons. Clean leather with a dedicated cleaner, then follow with conditioner. Shampoo carpets, agitate, and extract, and finish the glass last with a dedicated towel. If the glass has old, bubbling window film, that is a separate job: our guide to automotive window film removal walks through it step by step. One rule never changes: never dress the pedals or the steering wheel. A slippery pedal is a real hazard, and no shine is worth it.
5. Protection: wax, sealant, ceramic
Protection is the last step, and it only works if everything before it was done right. Apply it in thin, even coats on cool, clean paint, let it haze or cure exactly as the label says, and buff it off with a soft microfiber.
| Protection | What it gives you | How long it lasts |
|---|---|---|
| Wax | Warm, deep gloss; easy to apply | About 1-3 months |
| Sealant | Longer protection, better weather resistance | About 3-6 months |
| Ceramic coating | Longest-lasting protection, strong water behavior | The longest of the three, but needs perfect prep and cure time |
Ceramic coatings bond to the paint and demand the most careful prep: full correction, a panel wipe to strip oils, application in small sections, and leveling high spots before they set. Keep the car dry during the early cure window. Whatever you choose, maintain it with pH-neutral shampoo, and skip automatic brush washes that undo your work in one visit.
How to judge your own work
Beginners guess. Good detailers check. Four simple tests tell you the truth about your work, and none of them needs expensive gear.
The baggie test
Put your hand inside a thin plastic sandwich bag and glide it lightly over the paint. The bag makes your fingertips far more sensitive to bonded contamination. Rough or gritty means the panel still needs clay. Smooth as glass means it is ready for polish or protection.
Inspection lighting
Look at the paint under a bright LED work light, held at a low angle across the panel, and then again in direct sun. Swirls, holograms, and leftover residue all show up under harsh light and hide under soft garage lighting. Meguiar’s own DA guide recommends a halogen lamp to show up defects, and the habit is the same whatever light you use: check every panel under a hard light before you call it done.
The 50/50 test spot
Tape off half of a panel, correct one side only, then pull the tape and compare. The difference is honest feedback on your pad and polish choice, and it is the best before-and-after photo you will ever take. If the corrected side is not clearly better, your combination is wrong, not your effort.
The water test
After protection, rinse the car and watch the water. Even, tight beading and clean sheeting across a panel means the protection went on evenly. Patchy areas where water sits flat tell you where the coat is thin or missing. It is a five-second check that catches the mistakes your eyes miss.
Four practice drills that build real skill
Reading about detailing does not build skill. Repeating one small thing until you cannot get it wrong does. These four drills are the fastest way to improve, and each one isolates a single skill.
Drill 1: The one-panel polish
Pick one panel, the hood is ideal, and polish only that panel until the result is flawless under inspection light. Do not move on until it is. Trying to correct a whole car at once is how beginners get tired, sloppy, and inconsistent. One perfect panel teaches you more than four rushed ones.
Drill 2: The no-new-swirls wash
Wash a dark-colored car with your normal method, then inspect it under a flashlight in a dark garage. Count every new swirl you can find. Change one thing in your wash, maybe the mitt, maybe the drying towel, and repeat next week. When a wash leaves zero new marks, the wash is mastered.
Drill 3: The baggie test loop
Clay one section, then baggie-test it before and after until you can feel the difference without looking. Do it on a different panel every time you wash. Within a month you will know by touch alone whether a car needs clay.
Drill 4: The scrap-panel pairing test
Get a scrap panel from a junkyard and try three different pad and polish combinations on three taped-off sections. Record which combo cleared the swirls with the least haze. This is how you learn to choose products by result instead of by marketing.
A 12-week plan: beginner to hireable
With a few hours of practice a week, most people build a solid, hireable foundation in a few months. This plan spreads the five core skills across twelve weeks so each one is solid before the next begins.
| Weeks | Focus | Milestone |
|---|---|---|
| 1-2 | Safe wash, drying, wheels, glass | A dark car washed with no new swirls under light |
| 3-4 | Decontamination: iron remover and clay | Baggie test smooth on every panel |
| 5-6 | Interior: vacuum, plastics, leather | Full interior done well, vents and seams included |
| 7-8 | DA polishing on a scrap panel | Test spot clears most swirls with no haze |
| 9-10 | One-step polish and protection on your own car | Whole car corrected evenly, protection beads evenly |
| 11-12 | Portfolio: two or three full details, photographed | Three documented details with 50/50 shots, ready to show |
Beginner mistakes, and how to fix each one
Every detailer makes these. The difference between a beginner and a pro is that the pro knows the fix.
Polishing dirty paint
Going straight to the polisher after a wash grinds bonded grit into the clear coat. Stop, decontaminate, and re-test. Clay and iron remover exist for exactly this reason.
Tilting the pad
A tilted pad concentrates pressure on one edge and leaves holograms, those wavy lines you see in sunlight. Keep the pad flat, lighten your pressure, and re-polish the area with a finishing pad and slow, overlapping passes.
Too little clay lubricant
Dry clay drags and marrs the paint. Flood the section with lubricant and use light pressure. If you already marred a panel, a light finishing polish will usually take the marks out.
Dressing the pedals
Shiny pedals look good in photos and are dangerous on the road. Wipe any dressing off pedals and the steering wheel with an all-purpose cleaner, and never apply it there again.
Skipping the test spot
Going straight to the whole car with an untested pad and polish combination is how hoods get hazed. Tape off a small test spot every time, start with the least aggressive combination, and step up only if the result demands it.
Chasing perfection on a daily driver
A daily driver does not need a show-car finish. If a finishing polish clears 60 to 70 percent of the defects, that is the right balance for a car that gets driven. Stop when the test spot looks right under light, protect it, and move on.
From hobby to paid work
Once your own car looks right every time, the step to paid work is smaller than most people think. Start by building a portfolio, not by buying more gear. Photograph every detail, before and after, and take 50/50 shots that show the difference your work makes. Pick one car and document its full transformation from dirty and swirled to corrected and protected.
Then offer portfolio-builder details to friends: a full detail for the cost of supplies, with complete honesty that you are building your portfolio. A simple social media page with your best before-and-after photos is free and does more for you than any certificate at this stage.
When you start charging, keep the menu simple: a wash package, an interior package, and a one-step polish and protection package. Price by the car’s condition and size, not by the hour, and check what detailers in your area charge. Pricing guides put a typical full detail in the United States at roughly $150 to $500, and your first paid jobs should sit at the honest end of that range.
Certification is worth considering once you are serious. The International Detailing Association runs the trade’s main certification program: Phase I, Certified Detailer, is ten written exams, and Phase II, Skills Validated, is a hands-on assessment by a recognized trainer across four areas: wash bay and prep, interior, exterior correction, and finishing steps. You do not need a certificate to detail cars, and many of the best detailers are self-taught. But a CD-SV credential proves your skill to an employer or a customer who has never seen your work, and some coating manufacturers require certification before they will sell you their professional products. The full requirements are on the IDA certification FAQ page.
If you would rather get paid to learn, apply for an entry-level job at a reputable detailing shop. You will start on prep work and washing, and you will absorb techniques and efficiency from experienced detailers every single day. That is the fastest classroom in the trade. One more thing the top guides rarely say out loud: detailing is physical work. You will be on your feet, bending, kneeling, and working your arms for hours, so take care of your body the same way you take care of the paint.
Start this weekend. Not with a shopping trip, with the wash drill. Wash your car, inspect it under a light, and find the swirls. Then fix the wash. That single loop, repeated for a few weeks, is how detailing skills actually improve.
How long does it take to learn car detailing?
With a few hours of practice a week, most people build a solid, hireable foundation in a few months. Machine polishing takes the longest to feel natural, so expect to spend the most time there.
Can I learn car detailing by myself?
Yes. Many of the best detailers are self-taught. What matters is not how you learned but what you can show: a portfolio of before-and-after photos and clean test spots proves the skill better than any certificate.
Do I need a certification to detail cars?
No certification is legally required to detail cars. The International Detailing Association’s Certified Detailer (ten written exams) and Skills Validated (hands-on assessment) credentials help with credibility, and some coating manufacturers require certification before selling professional products.
What is the hardest detailing skill to learn?
Machine polishing, or paint correction. Choosing the right pad and polish combination, judging pressure and arm speed, and knowing when to stop all take hands-on practice. That is why the drills in this guide start on a scrap panel, not a real car.
How much should I charge for my first paid detail?
Price by the car’s condition and size, not by the hour, and check what detailers in your area charge. Pricing guides put a typical full detail in the United States at roughly $150 to $500. Start simple, charge honestly for the work you can deliver, and raise your rates as your portfolio grows.
