
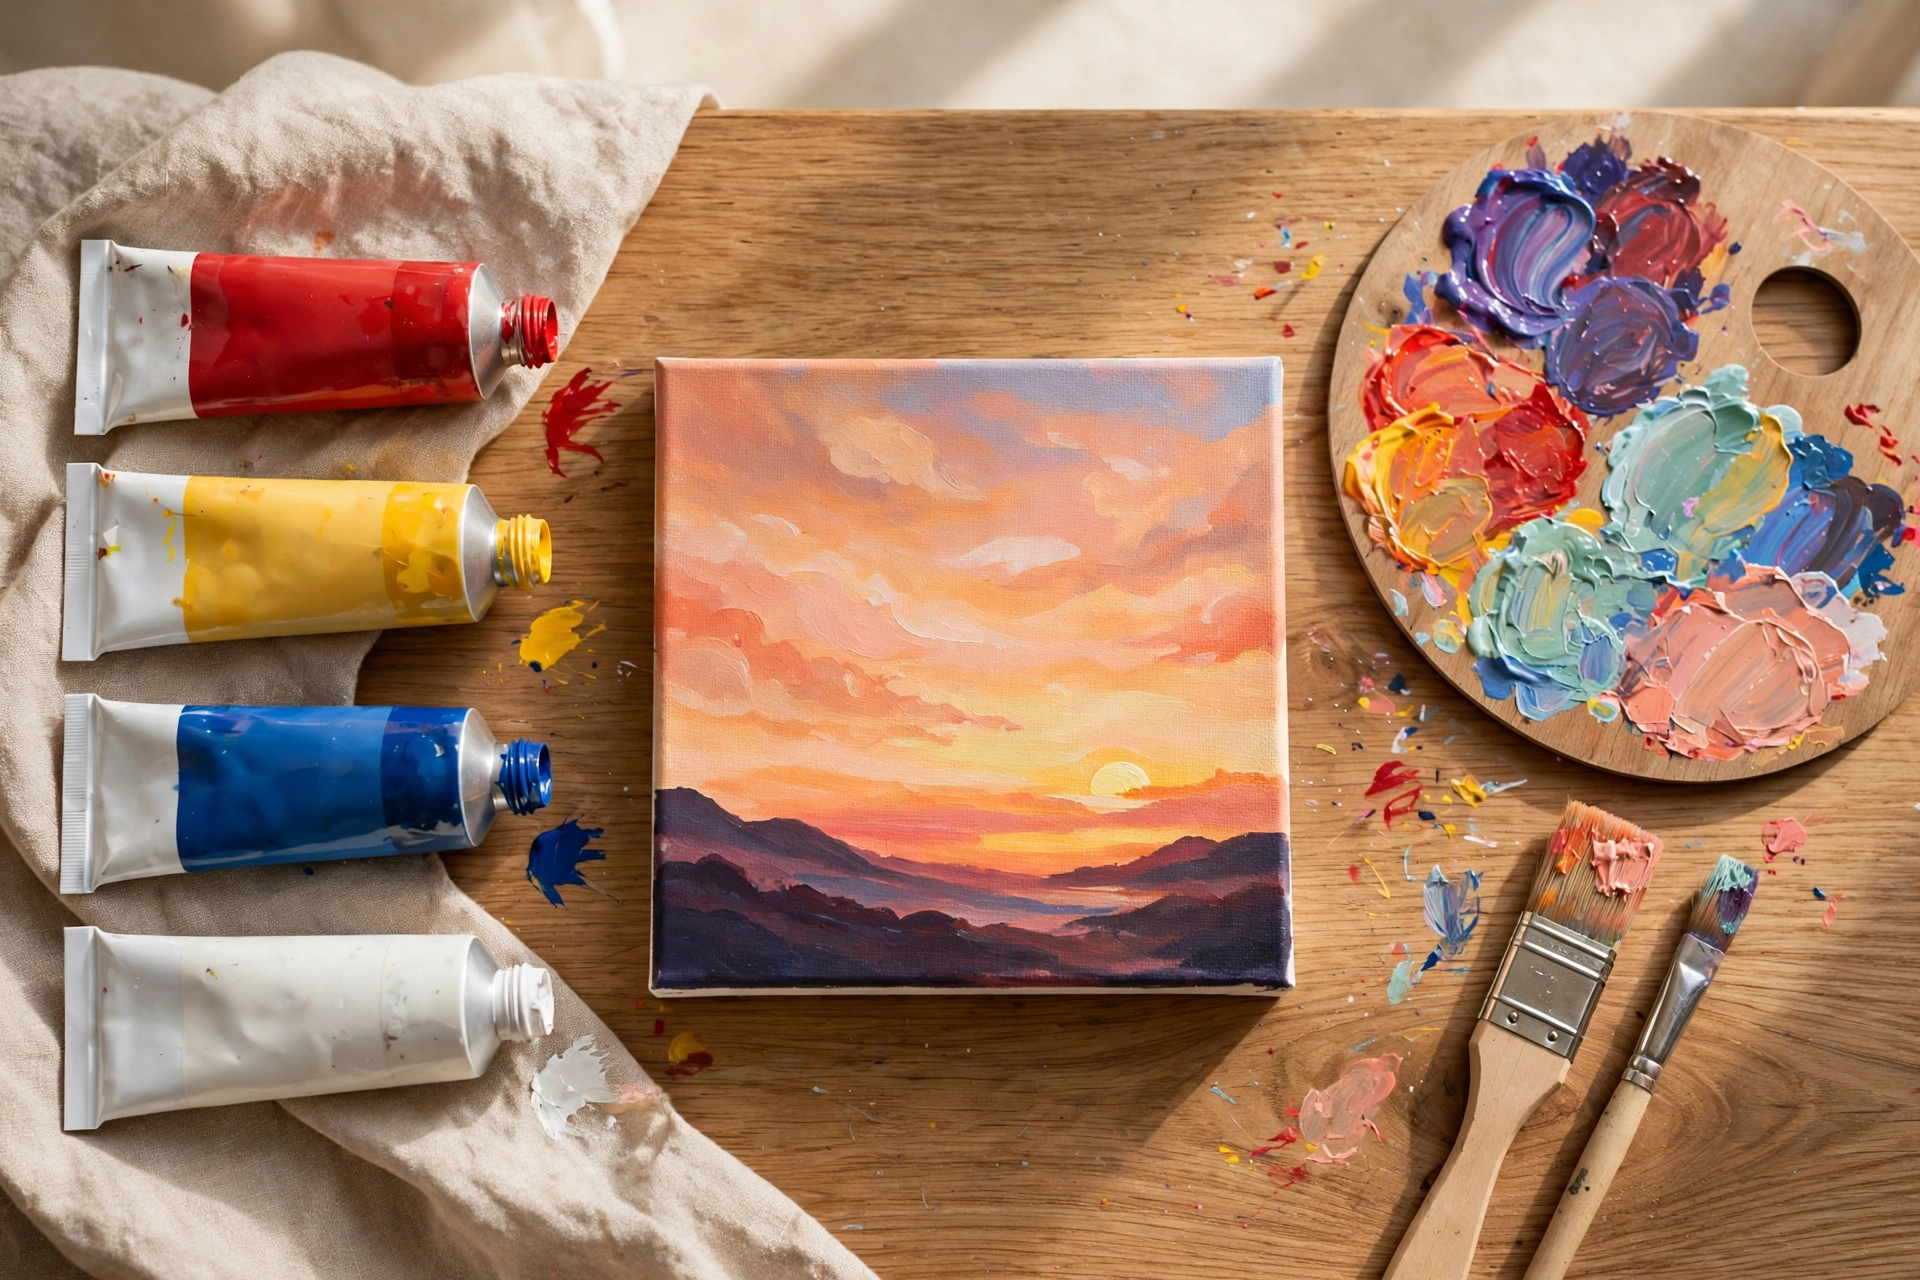

Staring at a blank canvas with a brand-new set of acrylics is one of the most paralyzing feelings in art. The trick is picking projects that teach you the medium instead of fighting it — and acrylics are the most forgiving paint a beginner can buy. They dry fast, so you can fix a mistake by painting straight over it once it’s dry: dried acrylic is waterproof and permanent, and won’t reactivate when you add the next layer. There are no ruined paintings, only paintings that need another layer.
Below are ten ideas, ordered from simplest to more involved. Each teaches a technique you’ll reuse forever, and none requires drawing skills.
Before You Start: 3 Things That Make Acrylics Beginner-Friendly
Most beginner frustration comes from fighting the paint’s nature instead of working with it:
- It dries fast — use that. Thin layers are often touch-dry within minutes. Work in layers: block in the big shapes, let them dry, then add details. Need more blending time? Mist your palette with a spray bottle or mix in a little acrylic retarder.
- Mistakes are fixable. Dried acrylic can’t be reactivated, so paint corrections directly over dry mistakes with zero smudging.
- You need less than you think. A small canvas, a flat brush, a round brush, a cheap sponge, and six colors — titanium white, mars black, crimson, cadmium yellow, ultramarine blue, burnt umber — cover every idea below.
10 Easy Acrylic Painting Ideas
1. Sunset Gradient Over Water
The entire painting is horizontal bands of color — no objects to draw, just blending.
- Paint the top half with horizontal strokes from yellow at the horizon up through orange, pink, and purple, blending each color into the next while wet.
- Paint the bottom half dark blue for water, then drag thin horizontal strokes of your sunset colors across it while wet — instant reflections.
- Add a pale yellow sun circle and a soft streak beneath it. Once dry, add a second streak for extra glow.
Technique learned: wet blending — the foundation of every sky you’ll ever paint.

2. Sponge Galaxy With Stars
The sponge does the blending for you. Randomness is the whole point.
- Cover the canvas in dark blue, then dab on patches of purple, magenta, and teal with a barely-damp natural sponge. Dab, don’t smear.
- Dab a few darker navy patches back over the brights for depth.
- For stars: load an old toothbrush with thinned white paint and flick dots by pulling your thumb across the bristles — practice on paper first.
- Paint one glowing moon — a white circle with a soft halo of thinned white around it — plus a few larger white star dots.
Technique learned: stippling and splatter for texture no brush can make.
3. Silhouette Landscape at Dusk
Silhouettes are pure black shapes — no shading, no detail, nothing to get wrong.
- Paint a gradient sky: warm orange at the horizon fading to deep purple-blue at the top.
- Once dry, paint the bottom third solid black for the ground.
- Add black silhouettes: triangle pine trees, rolling hills, a few birds (small “m” curves). Keep everything one flat color.
- Optional: a pale moon and its reflection. The glowing sky against black shapes does all the drama.
Technique learned: value contrast — dark against light reads as depth with zero effort.
4. Moon Over Mountains
A traced circle and a sponge give you a perfect moon; mountains are zigzag lines.
- Cover the canvas in dark night-sky blue, blending in purple near the top while wet.
- Trace a circle with a bowl or lid about two-thirds up — never dead center. Fill it with titanium white using a barely-damp sponge in two light passes; the uneven dabs read as crater texture.
- Paint overlapping zigzag mountain silhouettes in progressively darker blues — back range lighter, front range darker.
- Add stars with the toothbrush flick from idea #2, and a faint white reflection under the moon. (Full sponge-moon walkthrough.)
Technique learned: using household objects as stencils — a legitimate painting shortcut.
5. One-Stroke Flowers
One brushstroke makes a whole petal. The technique was designed for beginners.
- Double-load a flat brush: one corner in white, the other in pink, then work it on the palette 3–4 times until the colors meet in a gradient on the bristles.
- Press down and pull — one stroke lays a petal that’s dark on one edge, light on the other.
- Arrange 5–6 strokes in a circle for a flower; add a yellow dot center once dry.
- Paint leaves with the same double-loaded stroke in two greens, plus thin brown stems.
Technique learned: double-loading — shaded-looking forms from flat strokes.
6. Painter’s-Tape Color-Block Abstract
The tape draws your straight lines. You just fill in the shapes.
- Lay painter’s tape across the canvas in a bold geometric pattern — diagonals, a big triangle, overlapping rectangles.
- Fill each section with a flat color — high-contrast palettes (teal + coral + navy + white) look most striking.
- Let it dry fully, then peel the tape slowly at an angle. Touch up bleeds with a small brush.
- Optional: add one hand-painted organic shape over the geometry to break the rigidity.
Technique learned: masking for crisp edges — the sign painter’s trick.
7. Desert Cactus Scene
Cacti are simple rounded shapes; sand needs no detail at all.
- Paint a warm sky gradient — pale yellow to soft orange.
- Paint the ground in sandy tones with a large dry brush — very little paint, almost no water — letting the bristles skip for a grainy texture.
- Add mid-green cacti: tall rounded columns with short arms, a few barrel shapes.
- Once dry, shade one side of each cactus darker green, add tiny white spine dots, a low sun, and a few birds.
Technique learned: dry-brushing for texture — one of the most useful beginner techniques.
8. Simple Beach Scene
Three horizontal bands — sky, sea, sand — plus a few details. That’s the whole painting.
- Top band: light blue sky with white cloud dabs.
- Middle band: turquoise sea, darker at the horizon, lighter near shore, with horizontal white strokes for foam.
- Bottom band: warm sand. Add a wavy white edge where sea meets sand, with a thin blue shadow line just above it for wet sand.
- Details that sell it: a triangle-and-pole umbrella, palm silhouettes, or footprints trailing across the sand.
Technique learned: banded composition — the easiest reliable landscape structure.
9. Cherry Blossom Branch
Blossoms are just dots. The branch is one curved line.
- Paint the background deep navy or dark teal — dark backgrounds make light blossoms glow.
- Paint one curved branch in dark brown with thinner offshoots. Let it dry.
- Mix three pinks (pale, mid, deep) with white. Dab clusters of dots along the branch with a round brush, sponge corner, or cotton swab.
- Dot a few darker pink or yellow centers, and let a couple of petals drift in the background.
Technique learned: pointillist dabbing — building forms from dots, not strokes.
10. Textured Abstract With a Palette Knife
There is no “wrong” in an abstract, and the knife does the interesting work.
- Mix a little baking soda into white acrylic until thick and paste-like — it fluffs into a sculptable texture. (Fine for practice pieces; for work meant to last, use a proper modeling paste instead.)
- Spread it across the canvas with a palette knife in sweeping strokes, building ridges and valleys.
- Once fully dry, dry-brush colors over the texture — high points catch paint, valleys stay dark. (What baking soda does to acrylic paint.)
- Finish with a few bold knife strokes of a contrasting color.
Technique learned: impasto texture — the fastest route from flat beginner painting to “that looks expensive.”
A Composition Trick That Makes Every Idea Better
Beginners usually fill the canvas evenly — sky half, ground half, subject dead center — and wonder why it feels flat. The 70/30 rule fixes it: let one element dominate roughly 70% of the canvas while a contrasting element fills the remaining 30%. It applies to subject matter (70% sky, 30% land), to value (70% dark, 30% light), and to color. A near 50/50 split reads as static; the uneven ratio gives the eye a place to rest and a focal point to land on.
To use it, take the sunset in idea #1: make the sky 70% and the water 30% and it immediately feels like it’s about the sky — or flip it for reflections. No measuring; just unbalance the canvas deliberately. Whenever a painting feels “off” for no clear reason, check the ratio first.
Frequently Asked Questions
What is the easiest thing to paint in acrylic?
Sunsets and night skies. Both are mostly blended color with no precise drawing — a sunset is horizontal bands of warm color, a galaxy is sponge-dabbed darks with flicked-on stars. Silhouettes come next: black shapes on a bright gradient need no shading. Start with idea #1 or #2 and you’ll have something frameable on the first attempt.
What is the 70/30 rule in painting?
A composition guideline: one element takes about 70% of the painting, a contrasting element the remaining 30% — sky versus land, dark versus light values, or one color versus its accent. The uneven split keeps the composition from feeling flat and gives viewers a clear focal point.
What does adding baking soda to acrylic paint do?
It thickens paint into a fluffy, sculptable paste that dries with a matte, chalk-like texture — handy for budget impasto effects. Mix it in gradually, since the paint puffs up as you stir. Caveat: it’s a craft shortcut, not archival. For paintings meant to last, use a proper modeling or gel medium instead.
Can you paint over mistakes in acrylic?
Yes — this is acrylic’s superpower for beginners. Dry acrylic is waterproof and permanent, so it can’t be reactivated by the next layer. Paint your correction straight over the dry mistake; if the mistake is thick, sand it lightly when dry or let the texture show through.
Do I need expensive supplies to start?
No. Student-grade acrylics, two or three synthetic brushes, a small canvas board, and a plastic palette cover every idea here. When you do spend money, upgrade brushes first — cheap ones shed bristles into your paint. Painting often matters far more than expensive paint.
The gap between “I can’t paint” and “I painted that” is about ten canvases, not ten years. Pick the idea that looks the most fun and keep your first attempts small — thin layers, let them dry, paint over what you don’t like.
Prefer a shorter list to warm up with? Try these five easy canvas painting ideas first, then come back for the rest.
When one of these turns into a keeper, here’s how to varnish an acrylic painting so the colors stay rich and the surface stays safe.
