
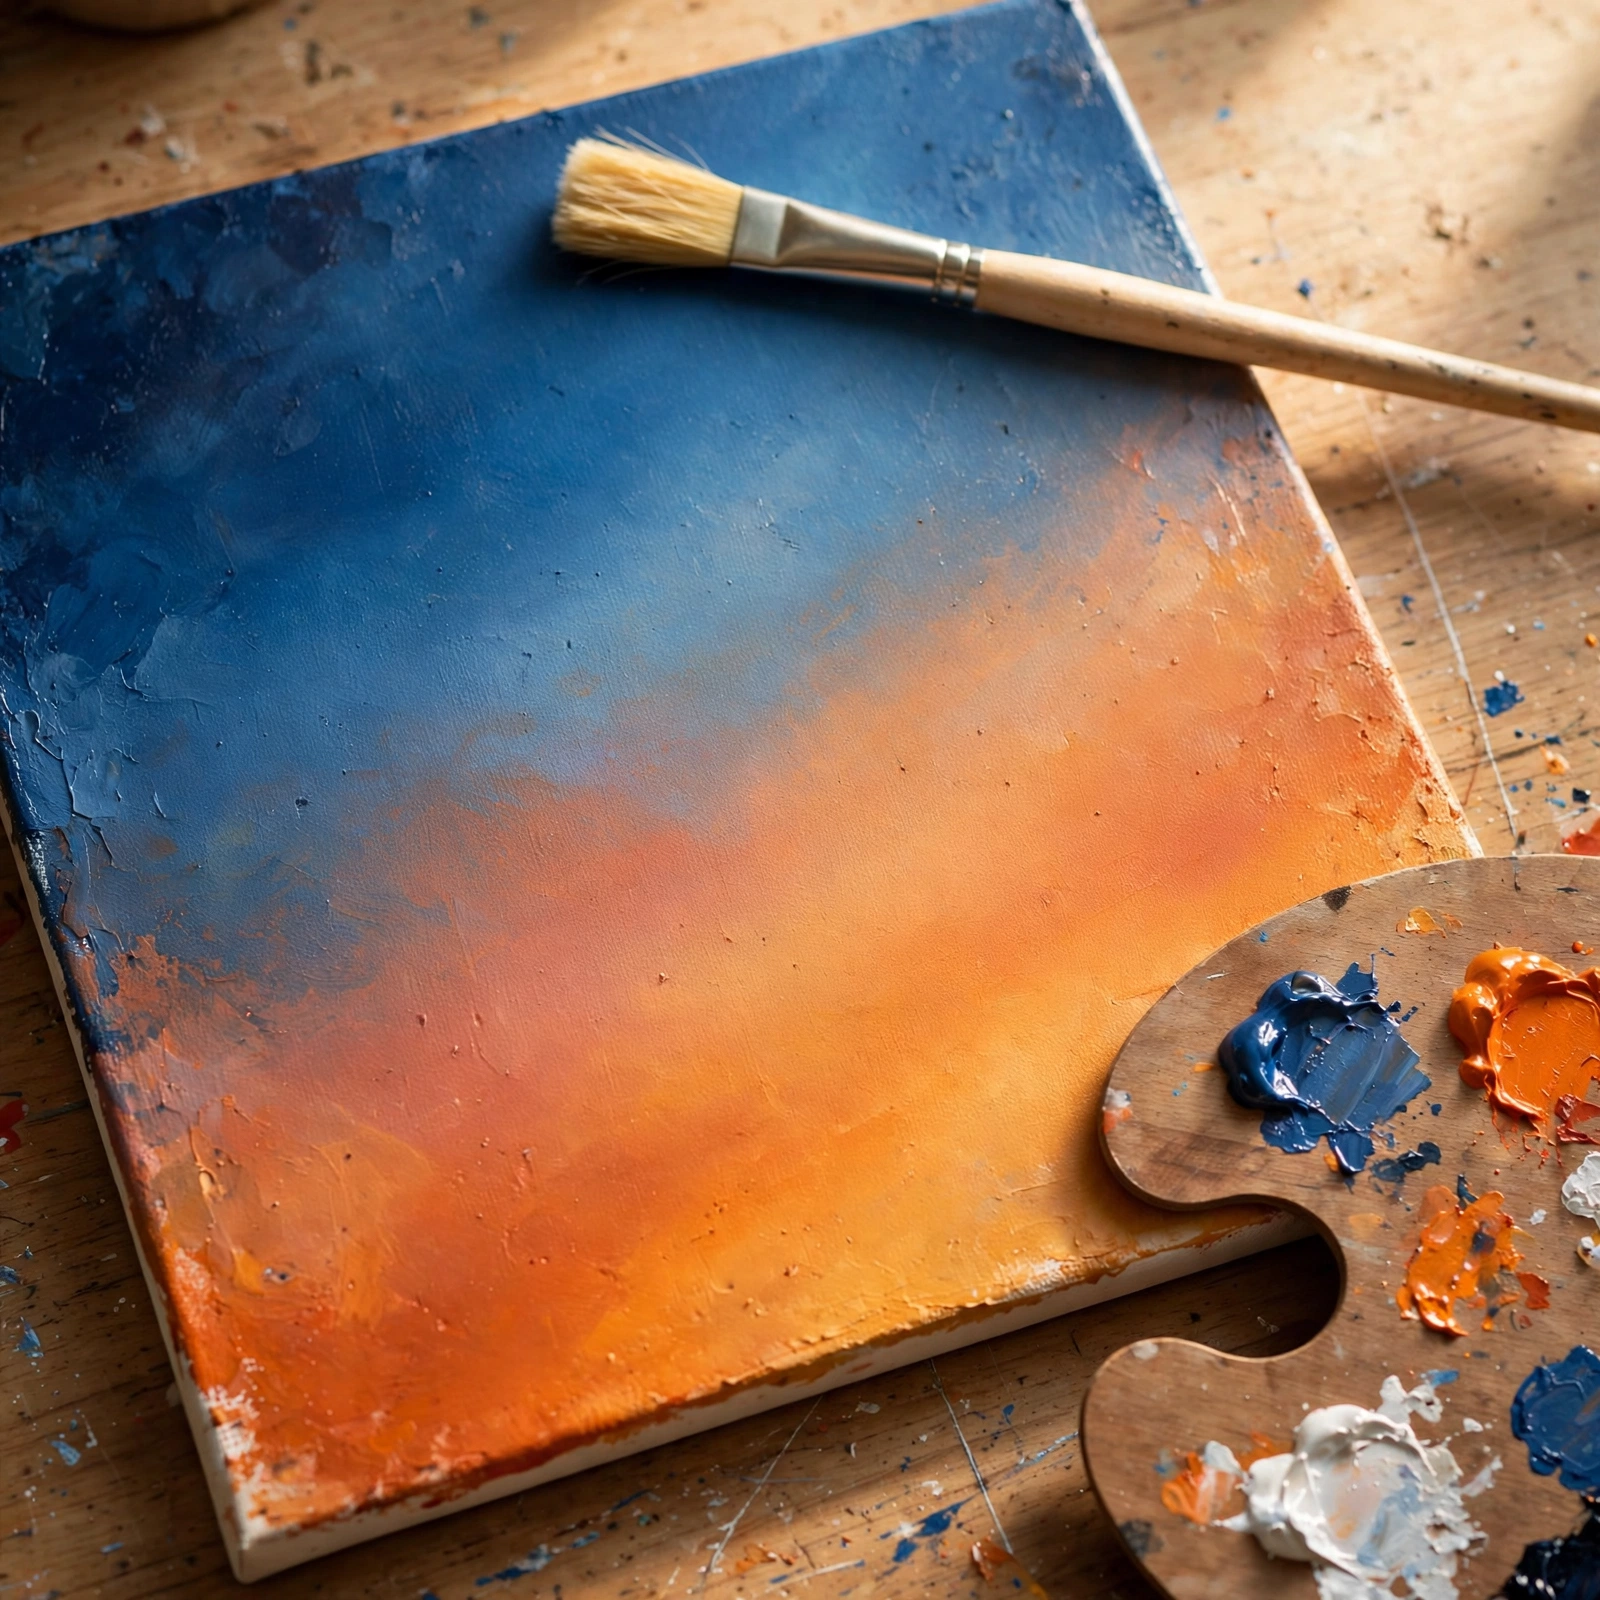

How to Blend Acrylic Paint for Beginners: A Method for Every Situation
Acrylic paint is wonderful and infuriating in exactly the same way: it dries fast. You squeeze out a beautiful ultramarine, lay down a sky, reach for the white to feather the horizon — and the blue has already started to skin over. Push harder and instead of a smooth gradient you get a streaky, lifted mess. Most beginners respond by learning one blending technique and using it for everything. That’s the real mistake: smooth results come from picking the right method for each passage. This guide covers the four methods that actually matter, when each one earns its place, and the mistakes that wreck most beginner blends.
Why Blending Acrylics Feels Harder Than It Should
Oil painters get hours. You get minutes — thin coats of acrylic can be touch-dry within minutes, which means the window for moving paint around is short and unforgiving. Wet paint behaves one way; half-dried paint behaves completely differently. The most common blending disaster — a muddy, streaked sky — comes from treating a layer that has started to dry as if it were still wet. If the surface feels tacky or has started to skin, the wet-blending window is closed, and you need a different method.
Method 1: Wet-on-Wet — Best for Soft Skies, Water, and Petals
When to use it
Anywhere you need one color to melt seamlessly into another across a large area: skies, calm water, sunset gradients, flower petals, soft backgrounds. If the whole passage can be painted in one continuous session, wet-on-wet is your method.
How to do it
Lay both colors down while everything is wet — side by side, not on top of each other. Then take a clean, soft brush (a large flat or filbert, barely damp) and feather across the boundary where the colors meet, using almost no pressure. Work quickly; two or three passes is usually the limit before the paint sets up. A light mist of water on the canvas buys you a few extra minutes.
The catch
Paint the whole passage in one sitting; if you miss the window, stop and switch to glazing once the layer is fully dry.
Method 2: Glazing — Best for Subtle Shifts, Depth, and Corrections
When to use it
Glazing is the method for everything wet-on-wet can’t handle: deepening a shadow after the layer dried, warming a sky that’s too cool, or building color depth one transparent layer at a time. It’s also your rescue method — the fix for a gradient that dried with a hard edge.
How to do it
The professional distinction that matters: a glaze uses a clear acrylic medium mixed with a small amount of color; a wash uses water with a small amount of color. Medium-based glazes keep a strong paint film — which is why glazing is done with medium, not water.
Mix your color with a glazing medium until it’s transparent — a little color goes a long way — and brush it thinly and evenly over the dry surface. Artist and educator Nancy Reyner suggests adding a small amount of retarder (up to about 15%) to the glaze mixture with a regular medium, so it stays workable long enough to brush out smoothly before it dries. Let each glaze dry completely before adding the next; stacking wet glaze on wet glaze just makes a mess.
The catch
Patience. Each layer must be fully dry, which means glazing is slow, deliberate work — the opposite of wet-on-wet. But the payoff is color depth you can’t get any other way, plus the ability to correct mistakes days later.
Method 3: Dry Brush — Best for Texture, Highlights, and Rough Surfaces
When to use it
Anywhere you want texture rather than smoothness: tree bark, fur, weathered wood, grass, stone, rough fabric. Dry brushing is also the fastest way to pick out highlights on a textured surface — the raised parts of the canvas catch the paint while the recesses stay dark.
How to do it
This one is exactly what it sounds like. Load your brush, then wipe almost all the paint off on a paper towel — the brush should feel dry. Drag it lightly across the surface so the paint catches only on the raised texture. A stiff-bristled brush (an old flat or a dedicated dry-brush) works best; use a light, skimming pressure and build the effect in passes rather than trying to get it in one stroke.
The catch
Dry brushing is easy to overdo. One or two passes read as texture; six read as chalky mess. Step back often — you can always add more, but you can’t un-drag it.
Method 4: Scumbling — Best for Broken Color and Atmospheric Haze
When to use it
Scumbling is dry brushing’s moodier sibling: broken, semi-opaque color over a dry layer, used for distant haze, foggy backgrounds, or unifying a passage that’s too flat. If dry brush is for texture, scumbling is for atmosphere.
How to do it
Take an opaque-ish color on a dry-ish brush and scrub it lightly over the fully dried underlayer in circular or short crisscross motions, letting the underlayer show through the gaps. The key difference from glazing: glazing is transparent and even, scumbling is deliberately broken and uneven.
The catch
Scrubbing too long mixes the colors into mud instead of broken color. Keep your strokes loose and your sessions short — the moment the layer stops looking broken, you’ve gone too far.
Stretching Your Working Time: Three Honest Options
You don’t have to race the clock with plain paint. Three things genuinely extend the blending window:
1. Slow-drying acrylics
Golden’s OPEN acrylics are a slow-drying line made for longer wet-in-wet working time — the most straightforward fix for blend-heavy painting, since you swap the paint, not the technique. Everything downstream takes longer too (including drying fully before you varnish).
2. Retarder or blending medium
A retarder slows the drying of standard acrylics and extends blending time — Liquitex’s Slow-Dri, for example, can slow drying by up to 40%. But retarders contain no binder, so more is not better: Liquitex advises adding no more than 25% retarder to your paint, since too much breaks down the paint film and leaves it sticky. A blending medium (rather than a pure retarder) is often the easier option because you can mix in as much as you like without jeopardizing film strength.
3. Mist and a stay-wet palette
The free option: keep a spray bottle of water handy to mist the canvas and your palette, or use a stay-wet palette (a sponge and damp paper under your paint). It buys minutes, not hours — helpful, but don’t expect miracles in a hot, dry room.
Five Beginner Mistakes That Ruin Blends
1. Blending over a half-dried layer
The number-one blend killer. Paint that has started to skin grabs the brush and lifts in streaks. If the surface is tacky, the wet-blending window is over — let it dry fully and glaze instead.
2. Overworking the transition
Blend less than you think you need to, then step back. Every extra stroke starts mixing the two colors together, and mixing complementary colors (orange and blue, red and green) gives you gray-brown mud. You can always glaze more color in later; you can’t un-mix mud.
3. Reaching for water instead of medium
Water thins acrylics cheaply, but too much of it weakens the paint film — the paint dries duller and less durable. For blending mixtures, use an acrylic medium instead of water wherever you can. A little water on the brush or a mist on the canvas is fine; half-water paint mixtures are not.
4. One brush for everything
Keep a clean brush (or two) reserved for the feathering step, and rinse often. Blending with a brush that’s carrying leftover dark paint muddies the light side of every gradient — dirty brushes are responsible for more muddy blends than bad technique.
5. Painting too thick when wet-blending
Thick paint takes longer to dry, which sounds helpful — but it also moves around under the brush and buries the soft transition you’re trying to make. Wet-on-wet works best in thin to medium layers; save the impasto for passages you don’t need to blend.
Which Method for Your Painting? A Quick Decision Guide
Stop reaching for the same technique by default:
- Smooth sky, water, or background gradient → wet-on-wet. Paint it all in one session while everything stays wet.
- Color too flat, too cool, or too dark after drying → glazing. Transparent medium-based layers over fully dry paint.
- Bark, fur, grass, weathered texture → dry brush. Near-dry brush dragged lightly across the surface.
- Distant haze, fog, dappled light → scumbling. Broken, semi-opaque color scrubbed lightly over dry layers.
- The blend went wrong and already dried → glazing again. It’s the method that forgives.
Once this becomes reflex — look at the passage, name the situation, pick the method — blends smooth out faster than any single tutorial, and these easy acrylic painting ideas for beginners give you the perfect practice subjects.
Frequently Asked Questions
Can you blend acrylic paint after it dries?
Not by wet blending — once the layer has set, brushing into it lifts and streaks. Instead, use glazing: thin transparent layers of color mixed with clear medium over the dry surface. It’s the standard way to adjust blends after the fact.
Is it better to use water or medium when blending acrylics?
Medium. A glaze is defined by using clear acrylic medium with a small amount of color, while a water-based mixture is a wash — and too much water weakens the paint film. A light mist of water on the canvas or palette is fine; the paint mixtures themselves should lean on medium.
How do I stop my blended colors turning muddy?
Blend fewer strokes, not more — overworking mixes the colors into each other, and complements (orange/blue, red/green) make gray-brown when overmixed. Keep a clean brush for feathering, rinse often, and if the paint has started to tack up, stop wet blending and switch to glazing once it’s dry.
What brush is best for blending acrylics?
A large, soft flat or filbert with clean bristles does most of the feathering work in wet-on-wet; a soft round works for smaller transitions, and stiffer flats suit dry brushing and scumbling. If you’re still building your set, start with the five brushes a beginner actually needs — the real rule is: a clean brush blends, a dirty one muddies.
