
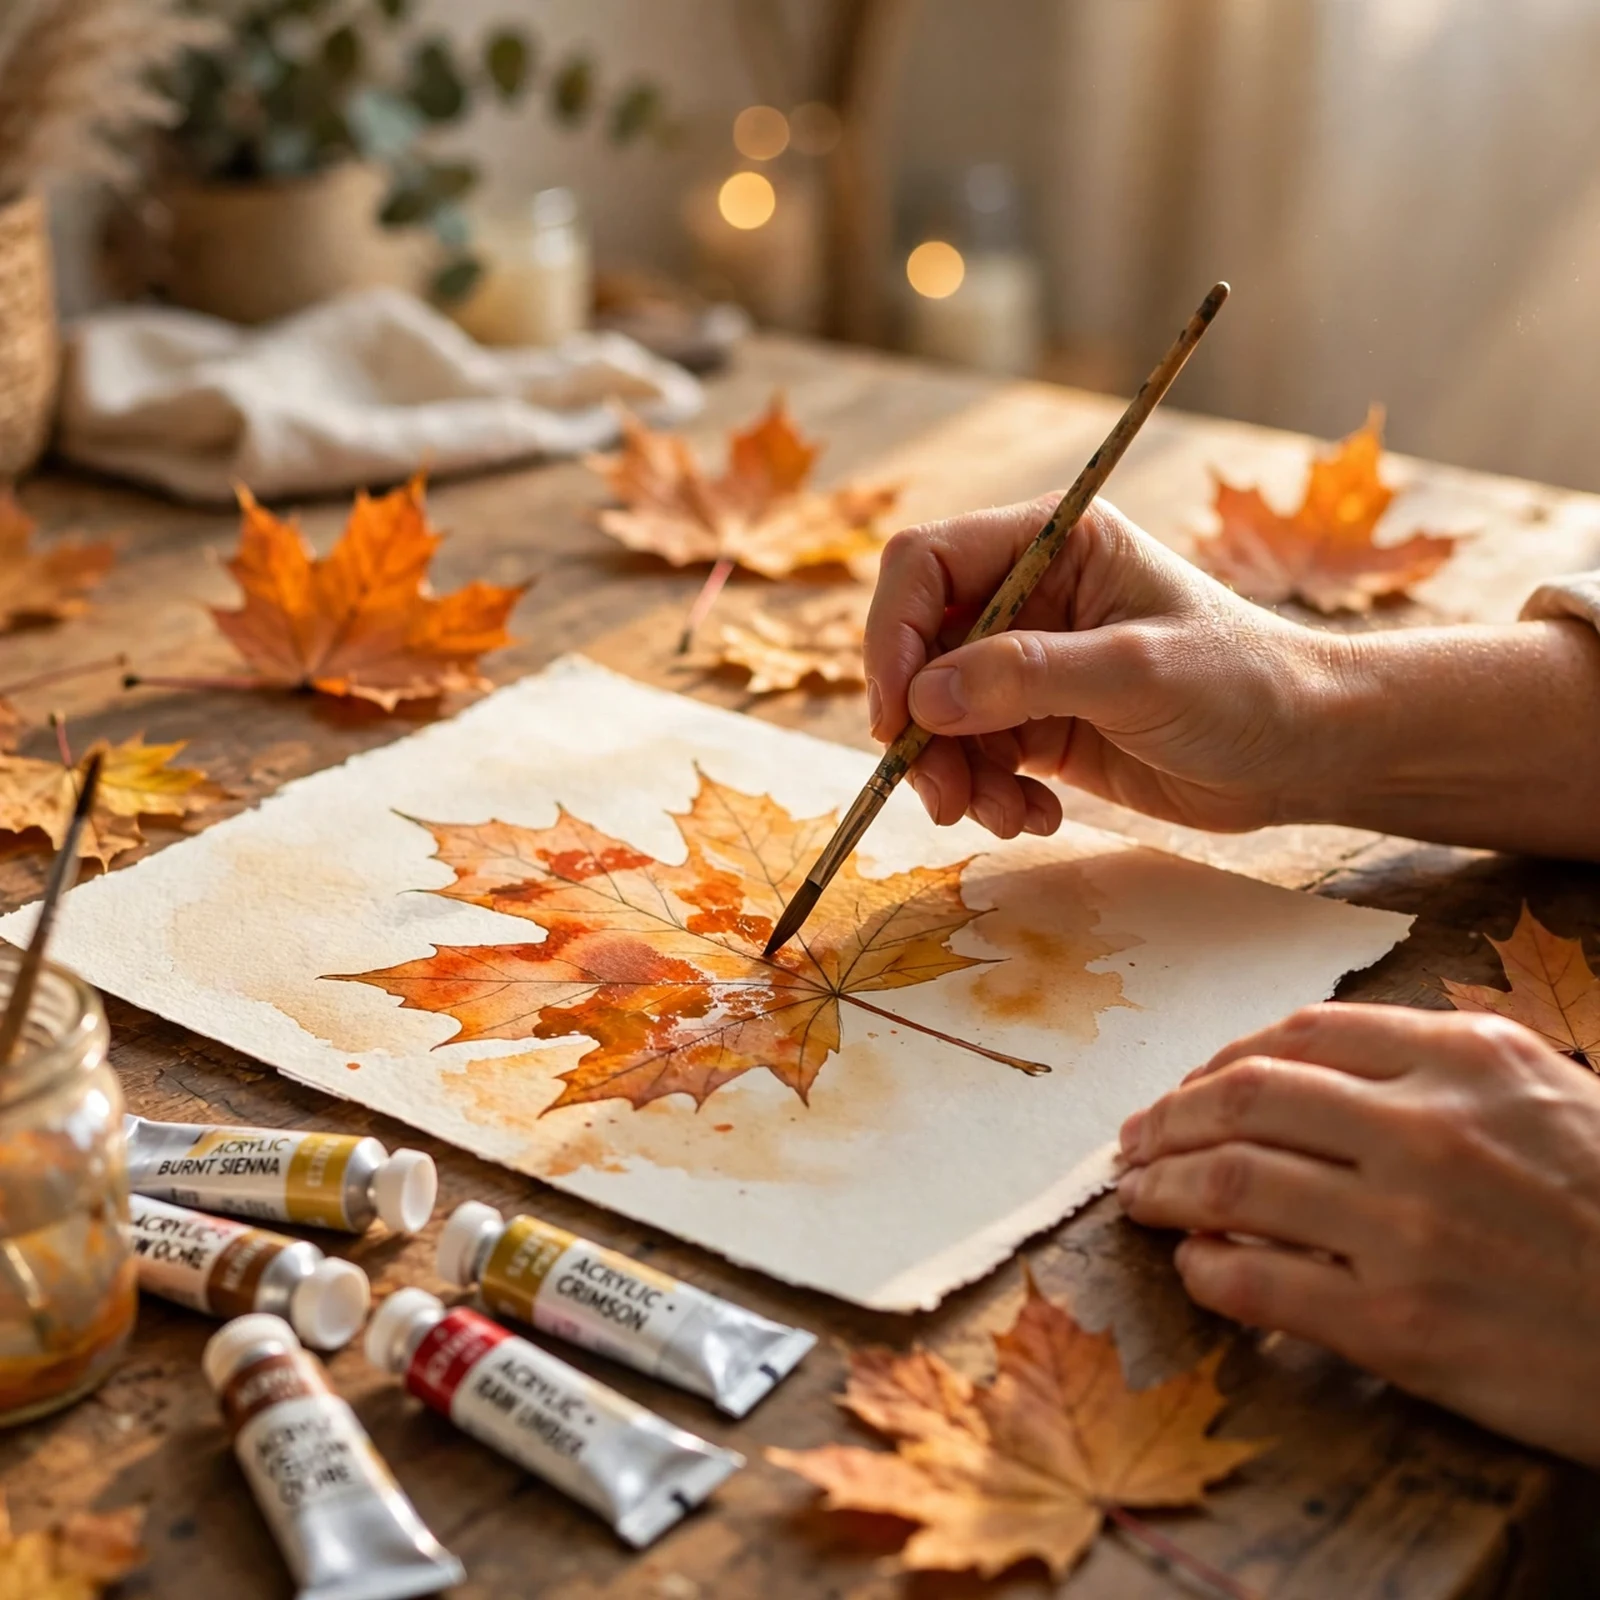

Most fall art projects fail the same test: they look doable on Pinterest and then eat your whole Saturday. These come with a stricter rule. Every project below finishes in a single afternoon — painting and drying time included — with supplies from a basic beginner kit. Five are for adults who want something that looks good on the wall; four are kid-safe versions of the same ideas, sized for short attention spans and washable paint. Grab a pocketful of fallen leaves and pick one. You’ll be done before dinner.
Beginner-Adult Fall Art Projects (Finish in an Afternoon)
These five projects use five different tricks — resist, masking, printing, cutting, and dabbing. Nothing needs drawing skill beyond basic shapes.
Leaf-Resist Watercolor
Time: about 45 minutes, plus drying.
Draw leaves with a white crayon so you can’t see them, wash watercolor over the sheet, and the leaves appear as the paint dries. It works because crayon wax is water-resistant — a state art curriculum explains it plainly: the wax repels the water, so watercolor only sinks into the paper where there is no wax mdek12.org.
Supplies: white crayon or white oil pastel, watercolor or heavy mixed-media paper, watercolor pan set, medium round brush, cup of water, paper towel.
- With the white crayon, draw overlapping maple or oak leaves across the paper. Press firmly — a light sketch won’t lay down enough wax to resist the wash.
- Wet your brush and lay a watercolor wash over the entire sheet in autumn tones: burnt orange, rust, gold, a little olive green.
- Let it dry flat. The white leaves emerge as the color settles around them.
- Once dry, outline one or two leaves with a brown fine liner.
Tip: If the leaves vanish under the wash, the crayon layer was too thin. Redraw with heavier pressure and repeat.
Negative-Space Autumn Trees
Time: about 1 hour.
Strips of painter’s tape become the trunks; a warm sunset sky goes over the top; peeling the tape reveals white trunks against glowing color. Arts-education lesson plans teach this exact sequence: tape the trunks down, paint over the tape, peel once the background is painted exploreart.smithptsa.org.
Supplies: watercolor paper (at least 140 lb), low-tack painter’s tape, watercolors in warm tones, wide flat wash brush, small brush for details.
- Tear or cut 4–6 tape strips of varying widths and lay them vertically across the paper, slightly angled, running off the top edge. These are your trunks. Smooth each strip flat with a fingernail so no paint seeps underneath.
- Paint a sunset sky over everything — deep orange at the horizon fading to gold, with a touch of red at the top. Paint right over the tape like it isn’t there.
- Let the paint dry completely, then peel the tape off slowly.
- Add thin branch lines in dark brown from a few trunks.
Tip: Peeling tape off wet paint pulls paint up with it. Dry fully first, or use a hair dryer on low.
Real Leaf Prints With Acrylics
Time: about 45 minutes.
Printing with real leaves captures vein detail no brush can fake. Crayola’s lesson plans teach this method: brush paint onto one side of a fresh leaf and press it onto the surface, a new color for each leaf crayola.com.
Supplies: fresh fallen leaves (maple and oak give the best veins), acrylic paint in 3–4 fall colors, soft flat brush, heavy paper or cardstock, newspaper to protect the table.
- Rinse the leaves and pat them dry. Damp leaves print cleanly; wet ones smear.
- Brush a thin, even coat of paint onto the veiny underside of one leaf — not the smooth top.
- Flip it paint-side down onto your paper and press firmly with your palm for a few seconds. Don’t slide it.
- Lift straight up. Reload with a new color and repeat, overlapping prints for depth.
- Sign it and set it aside to dry.
Tip: Thin paint prints veins; thick paint fills them in. If prints look like blobs, use half as much paint. New to acrylics? Our acrylic painting ideas for beginners cover the basics.
Paper-Cut Tree Silhouette Over a Watercolor Sky
Time: about 1 hour.
This is the collage-maker’s shortcut: a loose watercolor sky, then a cut-paper silhouette glued on top. The soft wash against the crisp black edge does the visual heavy lifting, so your cutting only needs to be “tree-ish,” not perfect.
Supplies: watercolor paper, watercolors, dark paper (black or deep brown construction paper works), scissors, glue stick or PVA glue, pencil.
- Paint a gradient sky: burnt orange low, fading to pale gold high. Leave a pale circle where the sun will sit. Let it dry.
- On the dark paper, sketch a simple tree: one trunk widening at the base, three or four tapering branches. Thick shapes cut more cleanly.
- Rough-cut the shape out first, then refine the edges.
- Glue the silhouette onto the dry sky, pressing from the center outward so no air bubbles get trapped.
Tip: Cut the trunk at a slight angle rather than straight up. Even a tiny lean reads as natural; a perfectly vertical trunk reads as a lamppost.
Sponge-Dabbed Autumn Tree
Time: about 30 minutes.
Paint a simple trunk, then dab the foliage on with a kitchen sponge — the sponge’s texture does the leaves for you. Varying pressure builds the layered look of an October canopy.
Supplies: canvas board or heavy paper, acrylic paint (brown, red, orange, yellow, a little green), a kitchen sponge cut into 1-inch pieces, small flat brush for the trunk, plate as a palette.
- Paint a trunk and two or three branches in dark brown, and let it set for 10 minutes.
- Dab a sponge piece into orange paint, blot the excess on the plate edge, and dab clusters around the branch ends.
- Add a second color (red, then yellow) with the same technique, overlapping but not covering the first.
- Dab a few fallen leaves along the bottom of the trunk, plus a couple of stray dots in the “sky” for drifting leaves.
Tip: The sponge should feel almost dry before it touches the paper. Overloaded sponges make pancakes — blot first, every time.
Kid-Safe Fall Art Projects (Same Pieces, Simpler)
Same techniques, reshaped for ages 3 and up: bigger motions, shorter steps, and non-toxic washable paint. Crayola’s washable paint is rated non-toxic and suitable for ages 3 and up, and it washes off skin and clothing with soap and water crayola.com — the only reason several of these are allowed at the kitchen table.
Leaf Rubbings With a Watercolor Wash (Ages 3+)
Time: about 30 minutes.
The toddler edition of the leaf-resist project. A grown-up collects the leaves; the kid does the rubbing and the painting. Leaf under paper, crayon over it, and the veins appear like a fossil.
Supplies: fresh leaves, white paper (thicker is better), chunky crayons, watercolor set, brush, cup of water, smock or old shirt.
- Tape a leaf to the table, veiny side up, and lay paper over it. Tape the paper down too — it will slide.
- Rub the side of an unwrapped crayon firmly over the paper where the leaf sits. Watch the leaf shape appear.
- Repeat with 3–4 leaves in different crayon colors.
- Paint a watercolor wash over the whole page — the waxed rubbings resist the paint, just like the grown-up version.
Tip: Side-of-the-crayon, not the tip. The flat side catches the veins; the tip just draws on top of them.
Handprint Fall Tree (Ages 3+)
Time: about 20 minutes.
A classic: the arm makes the trunk, the spread fingers make the branches, thumbprint dots become the leaves. Cleanup is one sink visit.
Supplies: large white or light-blue paper, washable tempera paint (brown, red, orange, yellow), paper plate, wipes or a damp cloth nearby.
- Brush brown paint generously onto the child’s forearm and palm — brush, don’t dip, for an even coat.
- Press the hand and arm firmly onto the paper, fingers spread. Lift straight up.
- Thumbprint red, orange, and yellow dots around the branches for leaves.
- Wash hands right away — tempera lifts off skin easily while it’s still wet.
Tip: Do the handprint first and the leaves second. Once kids discover the dotting, they will not go back to sitting still for the trunk.
Painted Leaf Stamps (Ages 3+)
Time: about 30 minutes.
The kid-safe twin of the adult leaf-print project: same brush-paint-on-the-leaf, press-and-lift motion, with washable paint and zero sharp tools.
Supplies: sturdy fallen leaves, washable tempera paint, chunky brush, paper, newspaper underneath.
- Pour small puddles of paint onto a paper plate — less paint out means less paint everywhere.
- Help the child brush paint onto the bumpy, veiny side of the leaf.
- Flip the leaf paint-side down and press with the palm, counting to three.
- Peel the leaf up by its stem to reveal the print.
- Repeat with new colors; one leaf lasts one or two prints.
Tip: Sturdy leaves only. Thin, crispy leaves tear mid-press and the project becomes a crumpled-leaf project.
Tape-Border Fall Picture (Ages 4+)
Time: about 30 minutes.
Masking tape makes a perfect frame, and peeling it off is the best 10 seconds in children’s art. Inside the frame, anything goes.
Supplies: watercolor or mixed-media paper, low-tack painter’s tape, washable tempera or watercolors, brushes or sponges.
- Tape a border around all four edges of the paper.
- Paint anything autumnal inside the frame — a sunset, leaf dots, a tree. Messy is fine.
- Let it dry — even partially dry paint peels cleaner than wet.
- Peel the tape slowly to reveal the crisp white frame.
Tip: Press tape edges down with a fingernail before painting — paint creeps under loose tape and blurs the frame line.
What You’ll Need
Everything above draws from one beginner kit: a watercolor pan set, acrylics or washable tempera, white and dark paper, a white crayon, painter’s tape, two brushes, a kitchen sponge, and a pocketful of leaves. If your brush drawer needs an upgrade, our guide to the best brushes for acrylic painting beginners names the five that actually matter. Working on canvas board instead of paper? Brush on one coat of gesso first — it keeps acrylics from soaking in. And if fall has you reaching for a pumpkin instead, our pumpkin painting ideas and best paints guide covers which paints work on a real pumpkin’s waxy skin.
Fall Art for an Afternoon, Not a Semester
Nine projects, one rule: start after lunch, hang it before dinner. Pick the resist watercolor for quiet focus, the leaf prints for something foolproof, or any of the kid projects if small hands are joining in. The supplies are in your drawer or on the sidewalk outside — fall only asks for an afternoon.
What supplies do I need for fall art projects?
Everything in this guide comes from one beginner kit: a watercolor pan set, acrylics or washable tempera, white and dark paper, a white crayon, low-tack painter’s tape, a couple of brushes, a kitchen sponge, and fallen leaves.
How does crayon resist watercolor work?
Crayon wax is water-resistant, so it repels watercolor paint. Draw with a white crayon first, pressing firmly, then wash watercolor over the whole sheet — color sinks in everywhere except the waxed drawing.
What paint is safe for kindergarten fall art projects?
Non-toxic washable tempera. Crayola’s washable paint is rated non-toxic and suitable for ages 3 and up, and it washes off skin and clothing with soap and water — the right pick for every kid project here.
How do you make leaf prints with real leaves?
Rinse the leaf and pat it dry, brush a thin coat of paint onto the veiny underside, flip it paint-side down onto paper, press firmly without sliding, and lift straight up. Use a new color per leaf.
Can young kids do these fall art projects?
Yes — leaf rubbings, handprint trees, and painted leaf stamps are designed for ages 3 and up with adult help, and the tape-border picture is best from age 4. Each kid section lists its age range. Washable non-toxic paint is the only paint used in the kid projects.
