
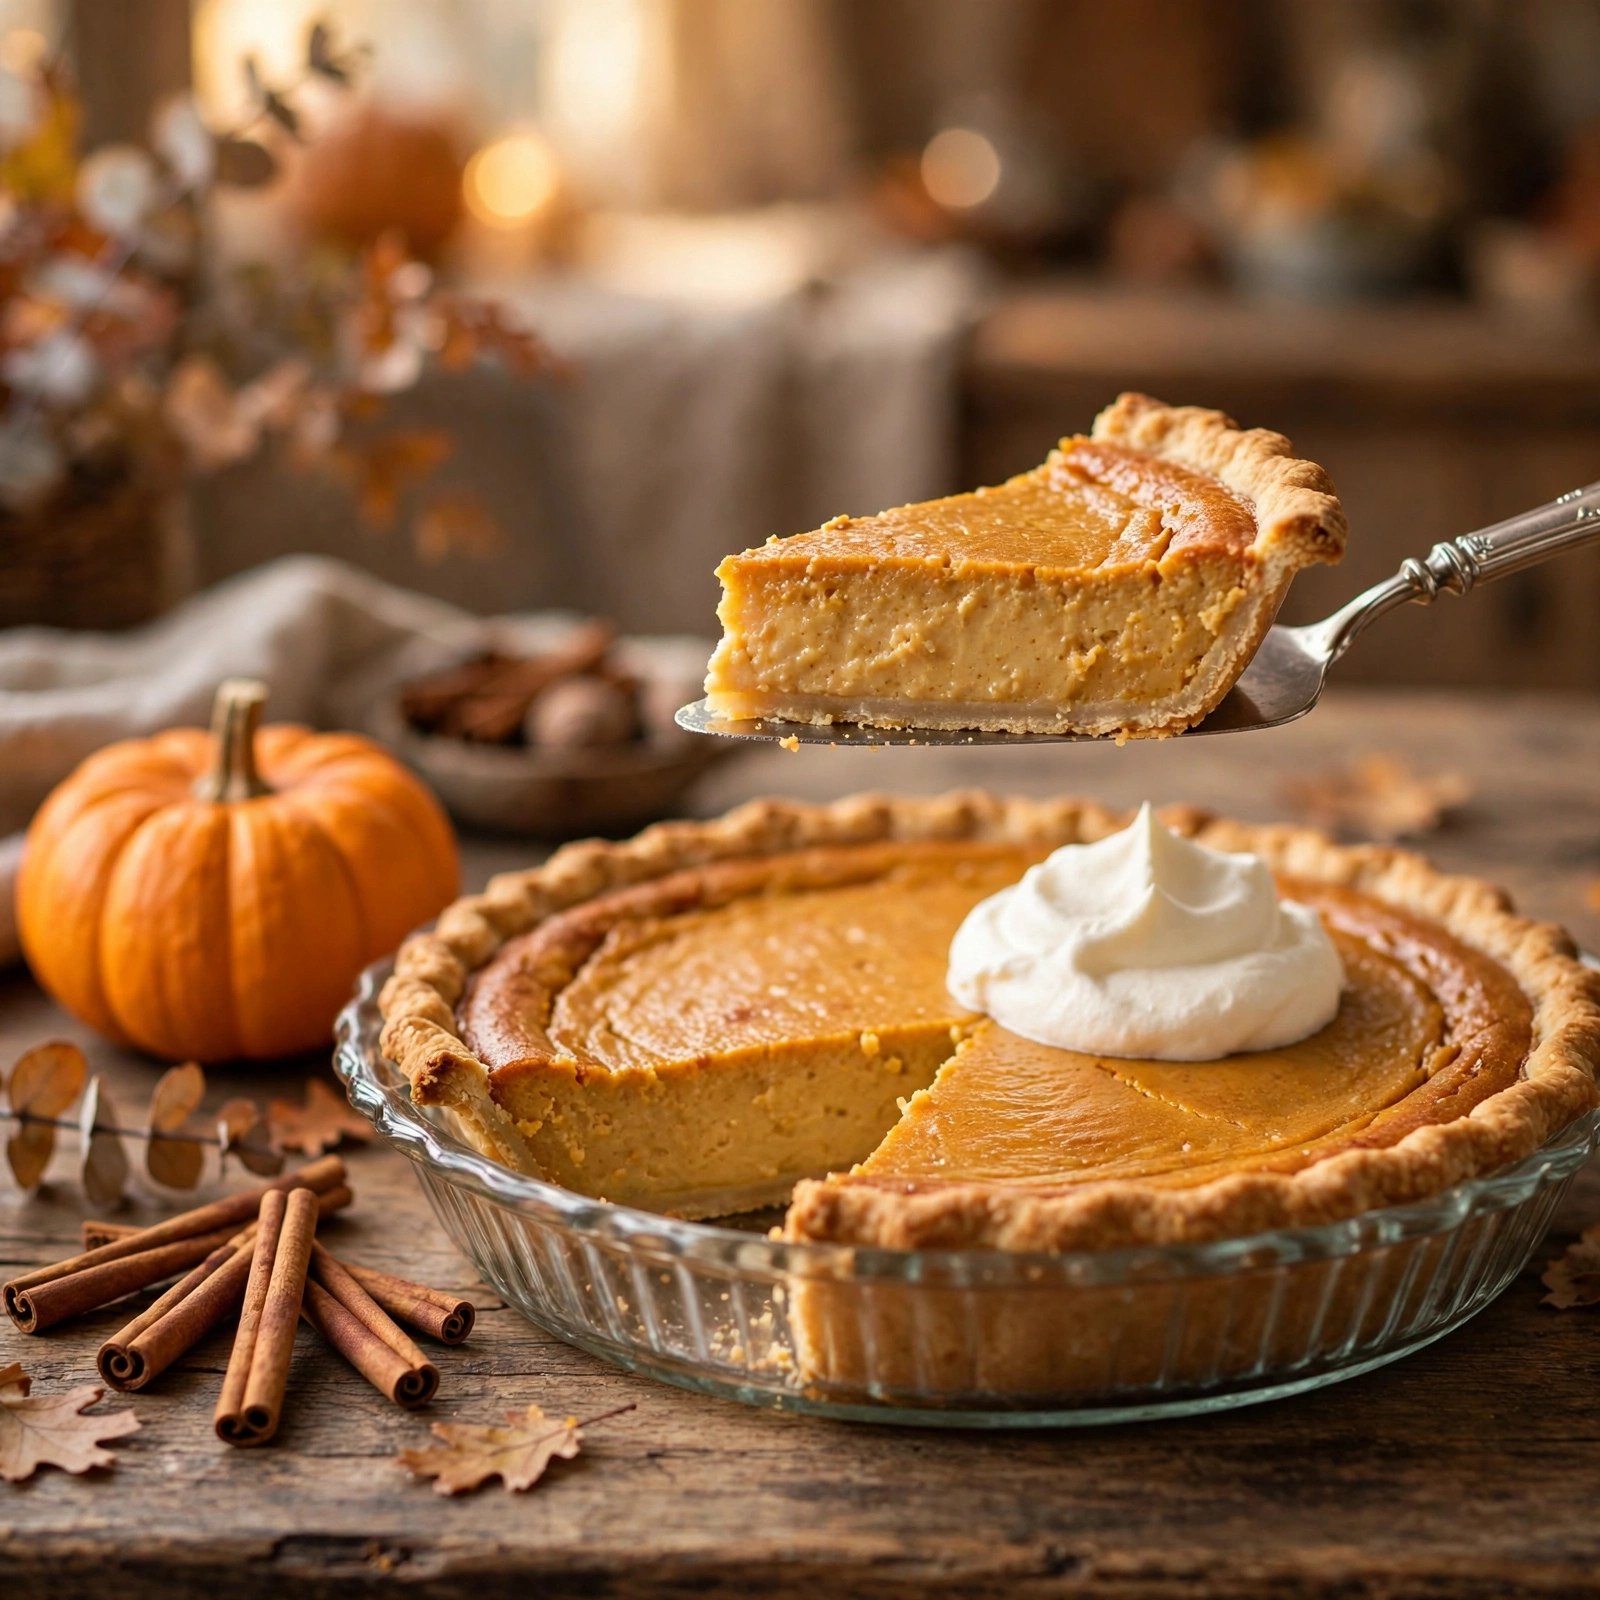

Thanksgiving dessert has two camps, and most families contain one of each. There are the can-openers: one can of pumpkin, one can of evaporated milk, the filling mixed in fifteen minutes, the pie in the oven before the turkey is even carved. Then there are the from-scratch bakers: a sugar pumpkin from the patch, halved and roasted, the whole kitchen smelling like October.
Both pies are legitimate, and both have a loyal following at the table. This guide gives you both — the classic evaporated-milk pumpkin pie with the exact can measurements, and the real sugar-pumpkin version built from a roasted pie pumpkin — plus an honest verdict on which one deserves your afternoon, and the single step that decides whether the from-scratch pie turns out magnificent or a watery mess.
The two pies at a glance
| Way 1: Evaporated-milk classic | Way 2: From a sugar pumpkin | |
|---|---|---|
| Active time | 15 minutes | About 1 hour (plus roasting) |
| Total time | About 3 hours with cooling | About 4 hours with roasting and cooling |
| Key ingredients | 1 can pumpkin, 1 can evaporated milk | 1 sugar pumpkin, evaporated milk, spices |
| Best for | Reliability, tight schedules, guaranteed set | Flavor bragging rights, a pumpkin already on hand |
Way 1: The classic evaporated-milk pumpkin pie
This is Libby’s famous pumpkin pie recipe — the one printed on the back of the pumpkin can since 1950. Generations of Thanksgiving tables have been built on it, and it survives for a reason: the ratios are dialed in, the custard sets like silk, and there is almost nothing to get wrong. If you have ever wondered what the “official” pumpkin pie tastes like, this is it.
Ingredients (makes one 9-inch deep-dish pie)
- ¾ cup granulated sugar
- 1 teaspoon ground cinnamon
- ½ teaspoon salt
- ½ teaspoon ground ginger
- ¼ teaspoon ground cloves
- 2 large eggs
- 1 can (15 oz) 100% pure pumpkin
- 1 can (12 fl oz) evaporated milk
- 1 unbaked 9-inch deep-dish pie shell
A note on the shell: the recipe specifies a 9-inch shell with a 4-cup filling volume — that means deep-dish. A standard shallow shell will overflow with this much filling, so check the package before you buy. And if your spice cabinet is missing one of the three, the recipe allows a shortcut: 1¾ teaspoons of pumpkin pie spice can replace the cinnamon, ginger, and cloves.
The method: mix, pour, bake
- Heat the oven to 425°F.
- Mix the sugar, cinnamon, salt, ginger, and cloves in a small bowl. Beat the eggs in a large bowl, stir in the pumpkin and the sugar-spice mixture, then gradually stir in the evaporated milk until smooth.
- Pour the filling into the pie shell. Bake at 425°F for 15 minutes, then reduce the temperature to 350°F and bake 40 to 50 minutes more, until a knife inserted near the center comes out clean.
- Cool on a wire rack for 2 hours, then serve — or refrigerate.
Timing tip: if you’re cooking the turkey in an oven bag this year, the pie goes in after the bird comes out — the hot-start blast at 425°F is what sets the custard’s structure, so don’t skip it or start low.
Way 2: Real pumpkin pie from a sugar pumpkin
The from-scratch pie starts the same way every great one does: with the right pumpkin. This is where most first-timers go wrong, because the pumpkin on your porch and the pumpkin in your pie are not the same vegetable.
Pick the right pumpkin (not the carving kind)
There are large pumpkins for carving and smaller pumpkins for cooking, and the difference is structural. Jack-o’-lantern pumpkins were bred to be oversized and thin-walled, with a huge seed pocket and relatively little flesh — and that flesh is bland, watery, and fibrous, according to the University of Wyoming Extension’s pumpkin guide. You want the opposite: a baking pumpkin under 10 pounds with firm, dense flesh that isn’t stringy.
Sugar pumpkins are the most common baking variety, often labeled “pie pumpkins” right at the store. The Small Sugar type also goes by New England Pie, Northern Pie, and Sugar Pie. Baby Pam, Autumn Gold, Fairytale, and Cinderella pumpkins all work too. Whatever you grab, pick one that feels heavy for its size — that’s dense flesh, which is exactly what you want.
Roast it until it’s spoon-tender
Halve the pumpkin, scoop out the seeds (save them for roasting as a snack), and set the halves cut-side down on a rimmed baking sheet. Roast at 400°F — 30 to 45 minutes for a small pumpkin, closer to an hour for a medium one — until the flesh gives easily when pierced with a skewer. Scoop the soft flesh into a bowl and blend it smooth. A 5- or 6-pound pumpkin yields roughly 4 cups of purée, more than you need for one pie, and the extra freezes well for later in your Thanksgiving menu.
The draining step everyone skips
Here is the step that separates a great from-scratch pie from a soupy one. Fresh pumpkin purée holds noticeably more water than the canned kind — canned pumpkin is processed from dry, dense, sweet processing varieties, so it comes out of the can thick and consistent. To close that gap, pour your fresh purée into a colander lined with cheesecloth and let it drain for 30 to 60 minutes, until it reaches roughly the same thick consistency as canned pumpkin, following the method in this Joy of Cooking–adapted roasting guide. Skip this, and the extra water has nowhere to go but your custard.
Ingredients and method for the from-scratch pie
Once the purée is drained, the filling is identical to the classic: use 15 ounces (one full can’s worth) of your homemade purée in place of the canned pumpkin, keep every other ingredient and amount the same, and bake with the same two-stage temperatures and the same knife-test finish. The only difference between the two pies is where the pumpkin came from — which makes the comparison a fair one.
The honest verdict: which pie should you make?
Make the classic when the day is already complicated. It is faster, it is consistent can after can, and the thick canned purée sets into the firmest, cleanest-slicing custard — one side-by-side bake test found the canned-pumpkin pie shrank the least in the oven precisely because there was less water to lose. Nobody at the table will call it a compromise; it is the pie they grew up with.
Make the from-scratch version when you have a sugar pumpkin sitting around and an unhurried afternoon. The flavor is a little brighter and fresher, and there is genuine satisfaction in a pie that started as a whole vegetable. Just don’t skip the draining step — a watery fresh-pumpkin pie is the one result that tastes worse than the can, and it is entirely avoidable.
Either way, you’re fifteen minutes of mixing away from the part that matters: a custard that slices clean and a table that goes quiet for the first bite.
Storing pumpkin pie safely
Pumpkin pie is an egg-and-milk custard, and custards follow food-safety rules. The USDA advises that all egg-rich pies be refrigerated after baking and cooling unless the pie will be served within two hours — bacteria multiply fast between 40°F and 140°F, and pumpkin pie should not sit at room temperature longer than two hours, per Iowa State University Extension. Get it into the fridge within two hours of cooling and it keeps 3 to 4 days, which makes it a perfect bake-the-day-before pie. One thing not to do: freeze it. The official recipe warns that freezing causes the crust to separate from the filling.
And if you’re buying garnishes early — a sprig of fresh thyme or mint next to the whipped cream photographs beautifully — here is how to keep fresh herbs from wilting before dessert is served.
Can I use fresh sugar-pumpkin purée in the evaporated-milk recipe?
Yes. Make your purée, drain it in a cheesecloth-lined colander for 30 to 60 minutes until it reaches the thick consistency of canned pumpkin, then use 15 ounces (one full can’s worth) and keep the rest of the recipe exactly the same.
Why did my fresh-pumpkin pie turn out watery?
Fresh purée holds more water than canned pumpkin, which is processed from dense, dry varieties. Drain the purée through cheesecloth for 30 to 60 minutes before mixing the filling — skipping this step is the most common cause of a soupy pie.
Can I use a jack-o’-lantern pumpkin for pie?
Not recommended. Carving pumpkins were bred oversized and thin-walled with bland, watery, fibrous flesh. Use a baking variety like Sugar, Small Sugar (New England Pie), Baby Pam, or Cinderella — any pumpkin under about 10 pounds with dense flesh.
How do I know when the pumpkin pie is done?
Bake at 425°F for 15 minutes, then at 350°F for 40 to 50 minutes. The pie is done when a knife inserted near the center comes out clean. Cool on a wire rack for 2 hours before serving or refrigerating.
Does pumpkin pie need to be refrigerated?
Yes. Pumpkin pie is an egg-and-milk custard, so refrigerate it after baking and cooling unless it will be served within two hours. Stored in the fridge within two hours of cooling, it keeps 3 to 4 days. Do not freeze it — freezing causes the crust to separate from the filling.
